

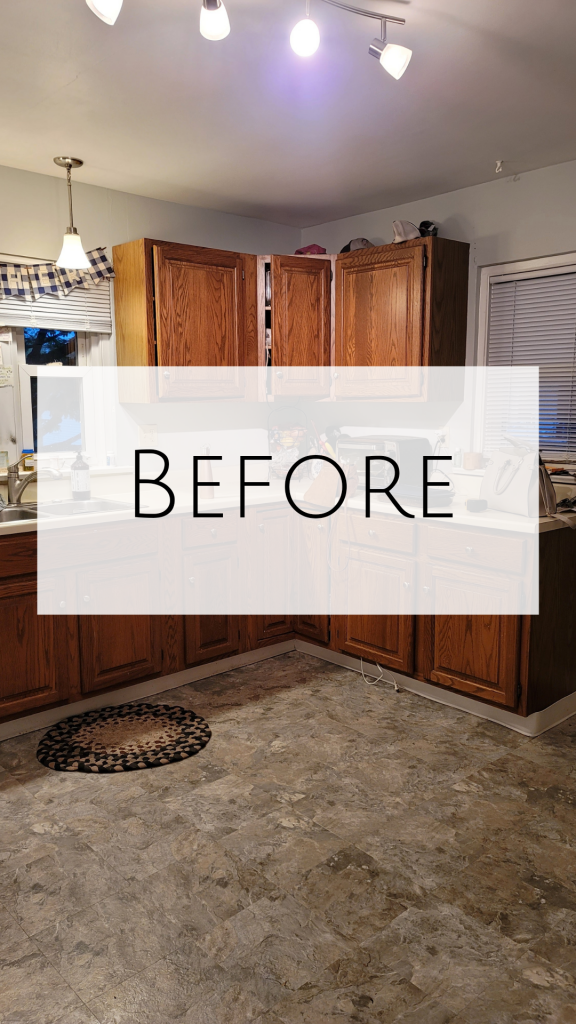
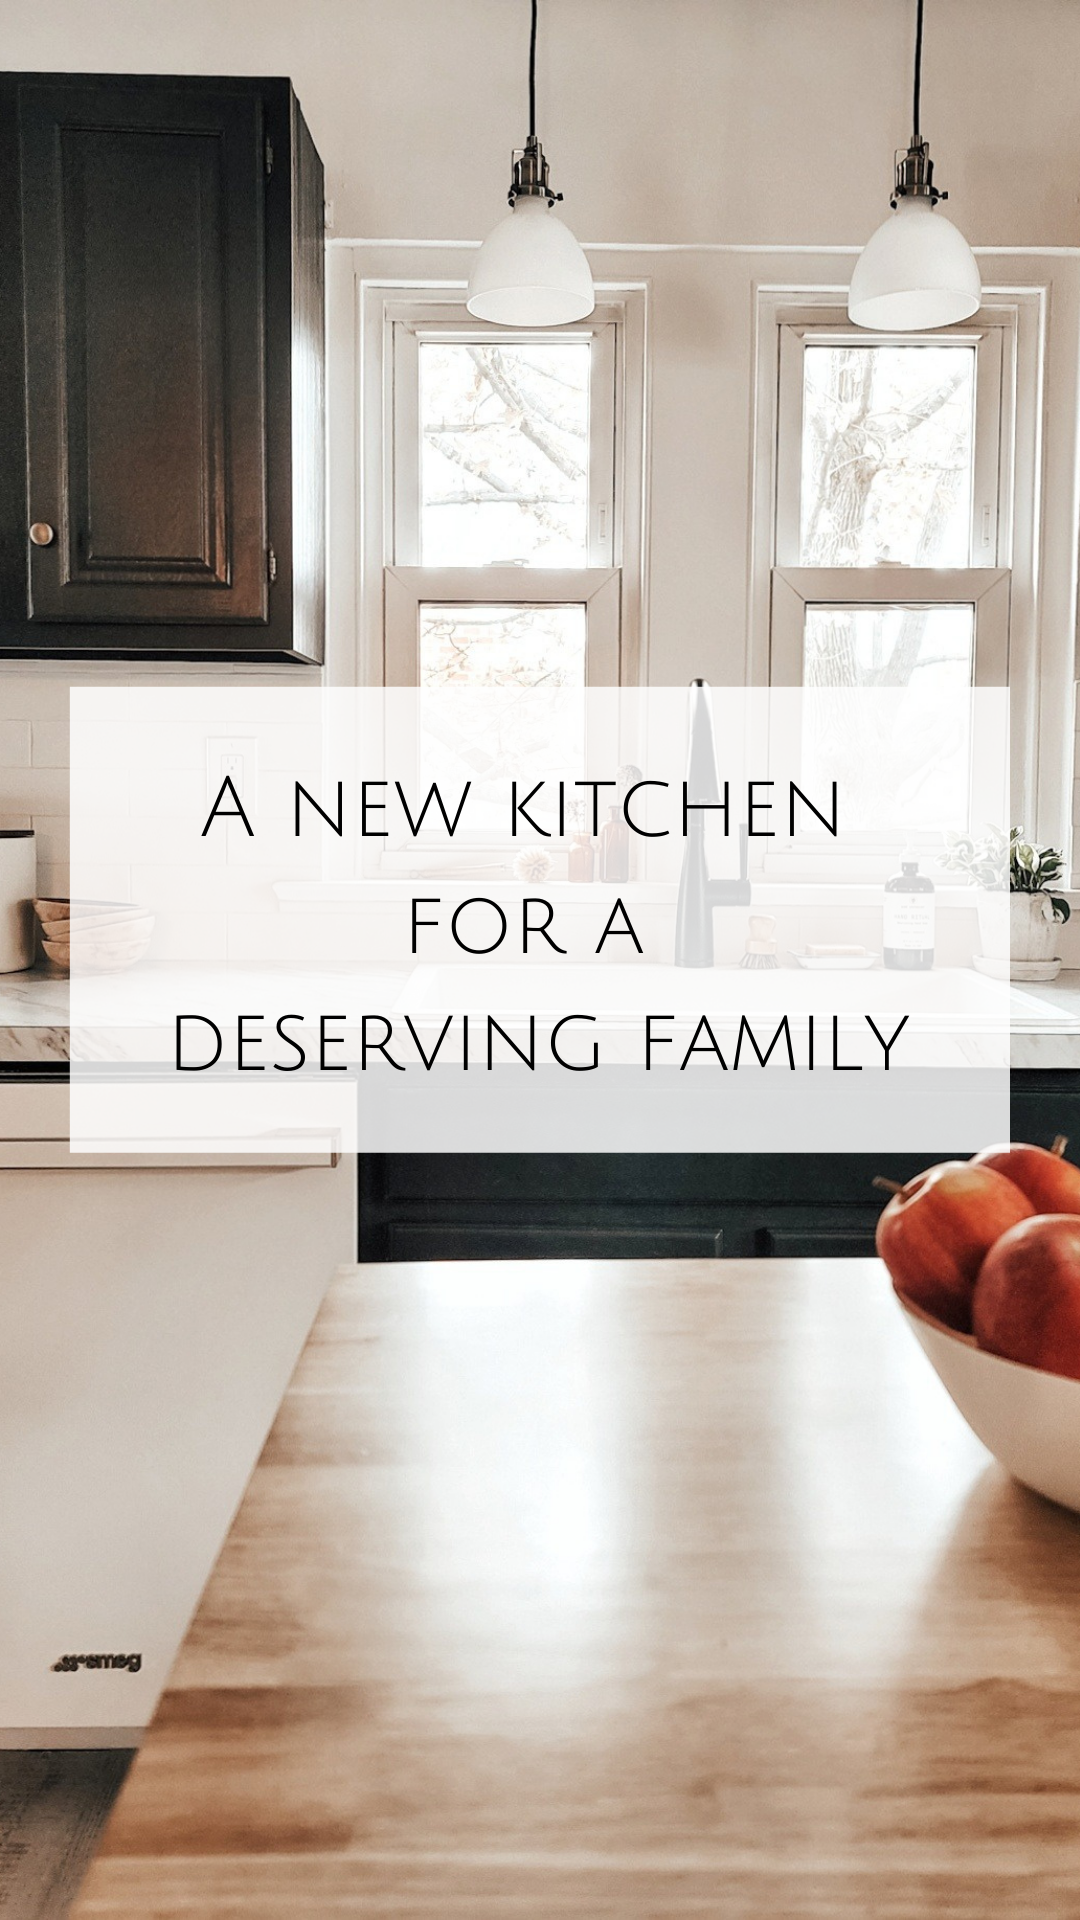
It’s a Wrap: A New Kitchen for a Deserving Family
New Counters
The old counters had to go. In attempts to keep this a budget friendly update, I decided to go with a laminate counter top. Thankfully options for laminate have come a long way, and I was able to select this countertop that has a beautiful higher-end look! I made an appointment with the store consultant to set up the measurements, installation and coordinate everything that needed to be done for installation.
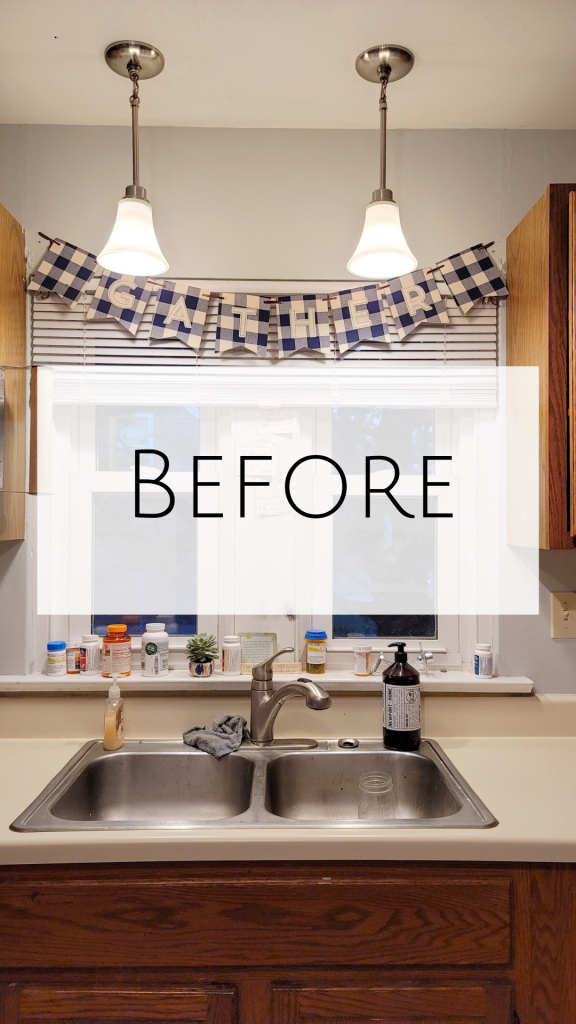
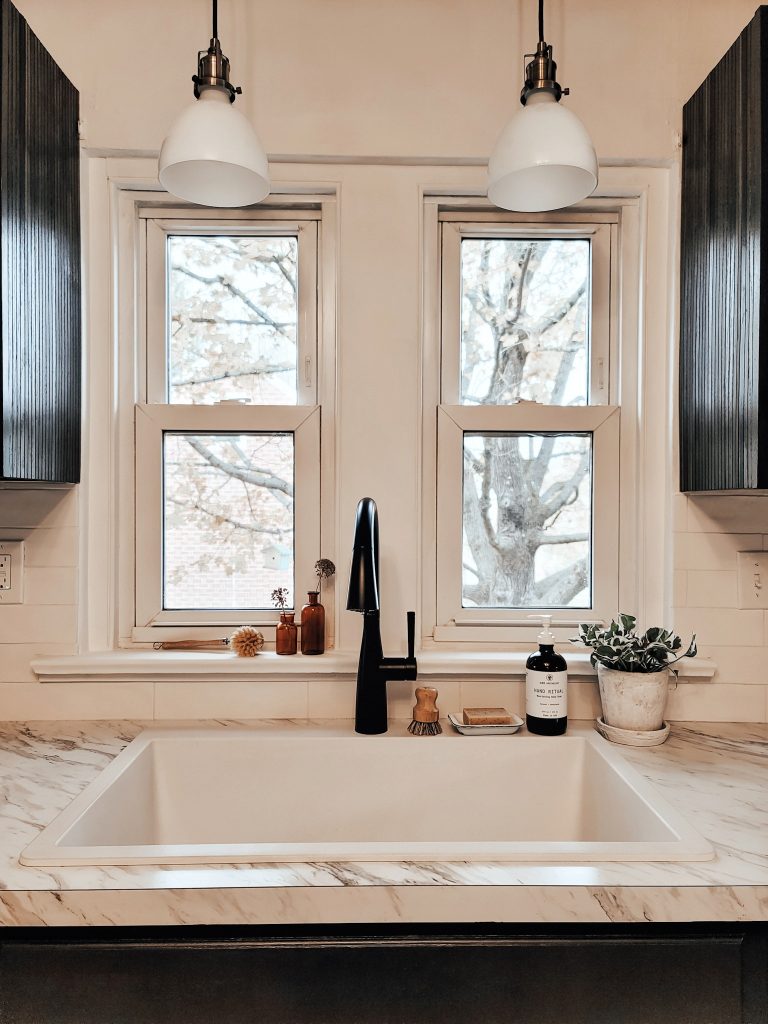
My original plan was to put in a farmhouse sink. Unfortunately, because of the cabinets and the type of counters we were doing it was not a viable option. Instead, I went with this budget-friendly and beautiful drop-in single bowl sink.
Installation
To save some money, we did some of the installation prep work ourselves. We turned off the water and disconnected the plumbing. Fortunately, my husband has some plumbing knowledge so this was a huge help. Tip: If you’re on a tight budget you can save a couple hundred dollars by removing the old countertops yourself.
Here is the budget-friendly modern looking faucet I went with. The black finish works so well with the veining in the countertops. We used a hole saw bit to cut the hole in the sink. Then we added silicon around the sink to keep it in place and seal it from leaking.
Backsplash
Now that the beautiful counters and sink were in, it was time to complete the backsplash. To carry over the look from the stove area, I decided to so the same tile backsplash, once again using the Musslebound to stick the tile to the wall. I went with the same bright white grout to complete this space.
Lighting
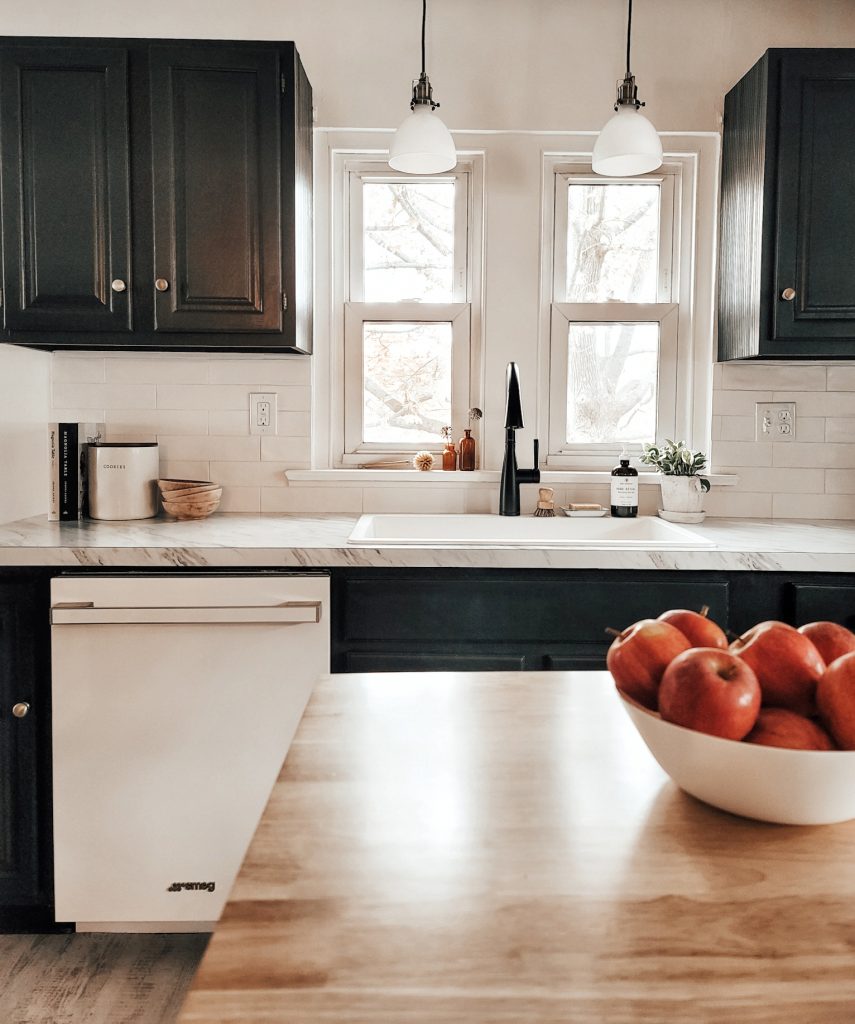
This space was not well lit. I wanted to give them an updated look and lots of light! First thing I did was changed out the pendant lights. I found these beautiful brass & milk glass lights that hang over the new quartz sink. I also found this great ceiling light that gives off so much extra light and has a cool modern vibe that the homeowners love.
For extra storage and counter space, I added a movable island. When I talked to Kelsy and Aaron at the beginning of the renovation, one thing Kelsy mentioned was having more workspace/counterspace. They have a teenage daughter who enjoys cooking and often struggles with the limited space to do so. As soon as I heard that, I was on a mission to find a kitchen island that would be just right for this space! I opted for a black island because it ties in seamlessly with the cabinets. And not only does this give them an additional work area, it also had a space for their trashcan hidden inside, which is a win! I hung a few vintage copper pans from the rack on the island as a fun yet functional addition.

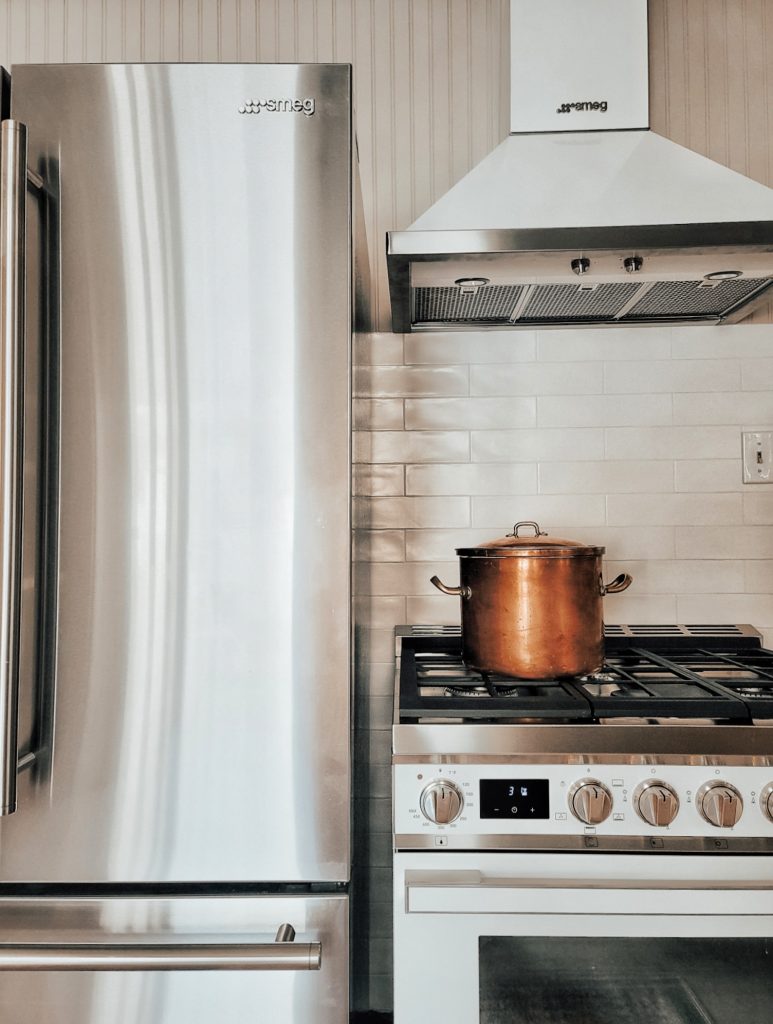
Smeg Appliance
This kitchen had so many needs, but perhaps the biggest need was new appliances. The fridge was falling apart and there was not enough room to house food for 6 people. Smeg came through in a big way and donated the appliances for this space because they wanted to help bless this deserving family. So now they not only have room in their 36″ refrigerator for groceries, they have a working dishwasher which this home didn’t have before. Not to mention this beautiful 30″ gas range with lots of oven space!


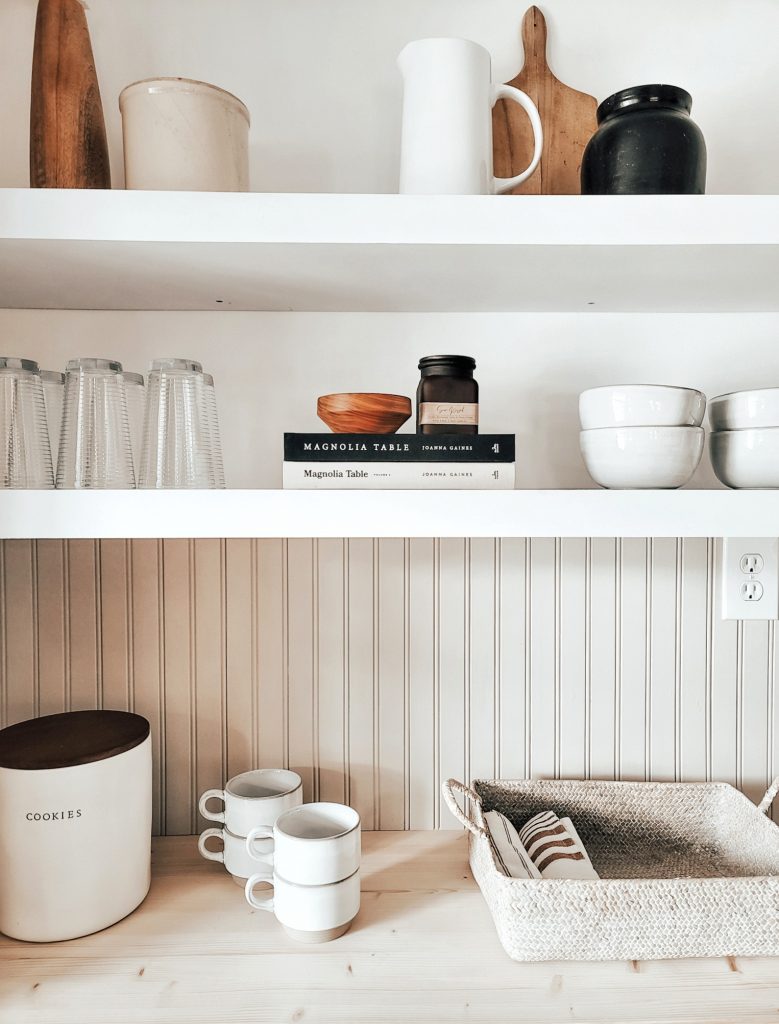
Open Shelving
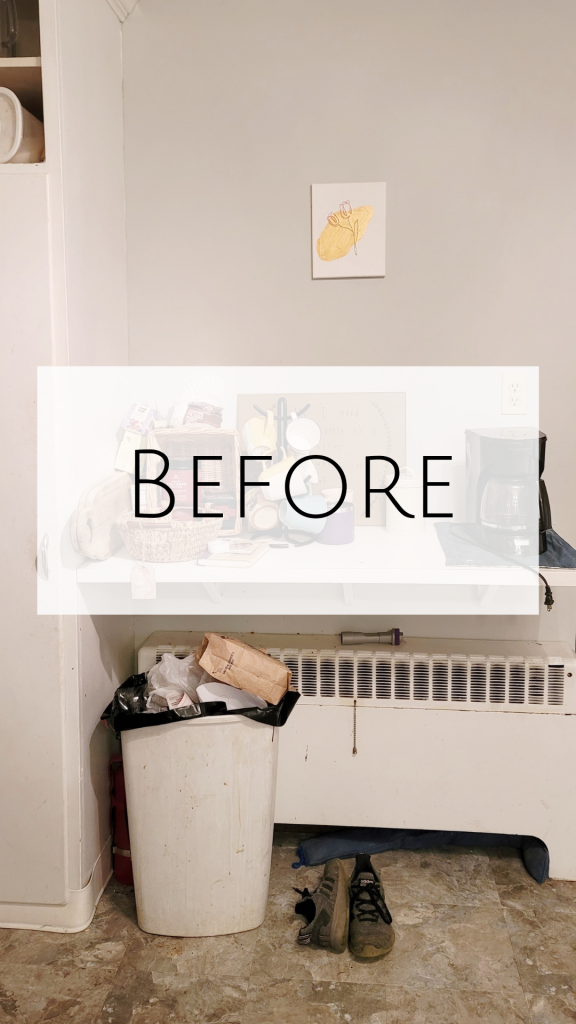
Also, don’t forget about how I transformed the coffee area into this functional yet beautiful space. For more details on this space, check out this previous blog post.

Links to all the things:
Leave a Reply


READY TO GROW YOUR INSTAGRAM AUTHENTICALLY?
I’m sharing the top 5 mistakes you’re making that are hurting your IG growth, and how you can solve them today!
GRAB MY FIVE TOP TIPS
WANTING TO MAKE YOUR SPACE MORE JOYFUL AND YOU?
There are three easy things I love to do to make my spaces full of joy and personality
DOWNLOAD THE GUIDE
FAVORITE POSTS:

Sometimes toys come along that are so fun, interactive and unique that you just have to have one. The new Little Live Pets My Puppy’s Home by Moose Toys is one of those! So we decided to surprise Bean with one. Have you heard about this toy?! It’s an interactive DIY toy that comes with […]
READ POST
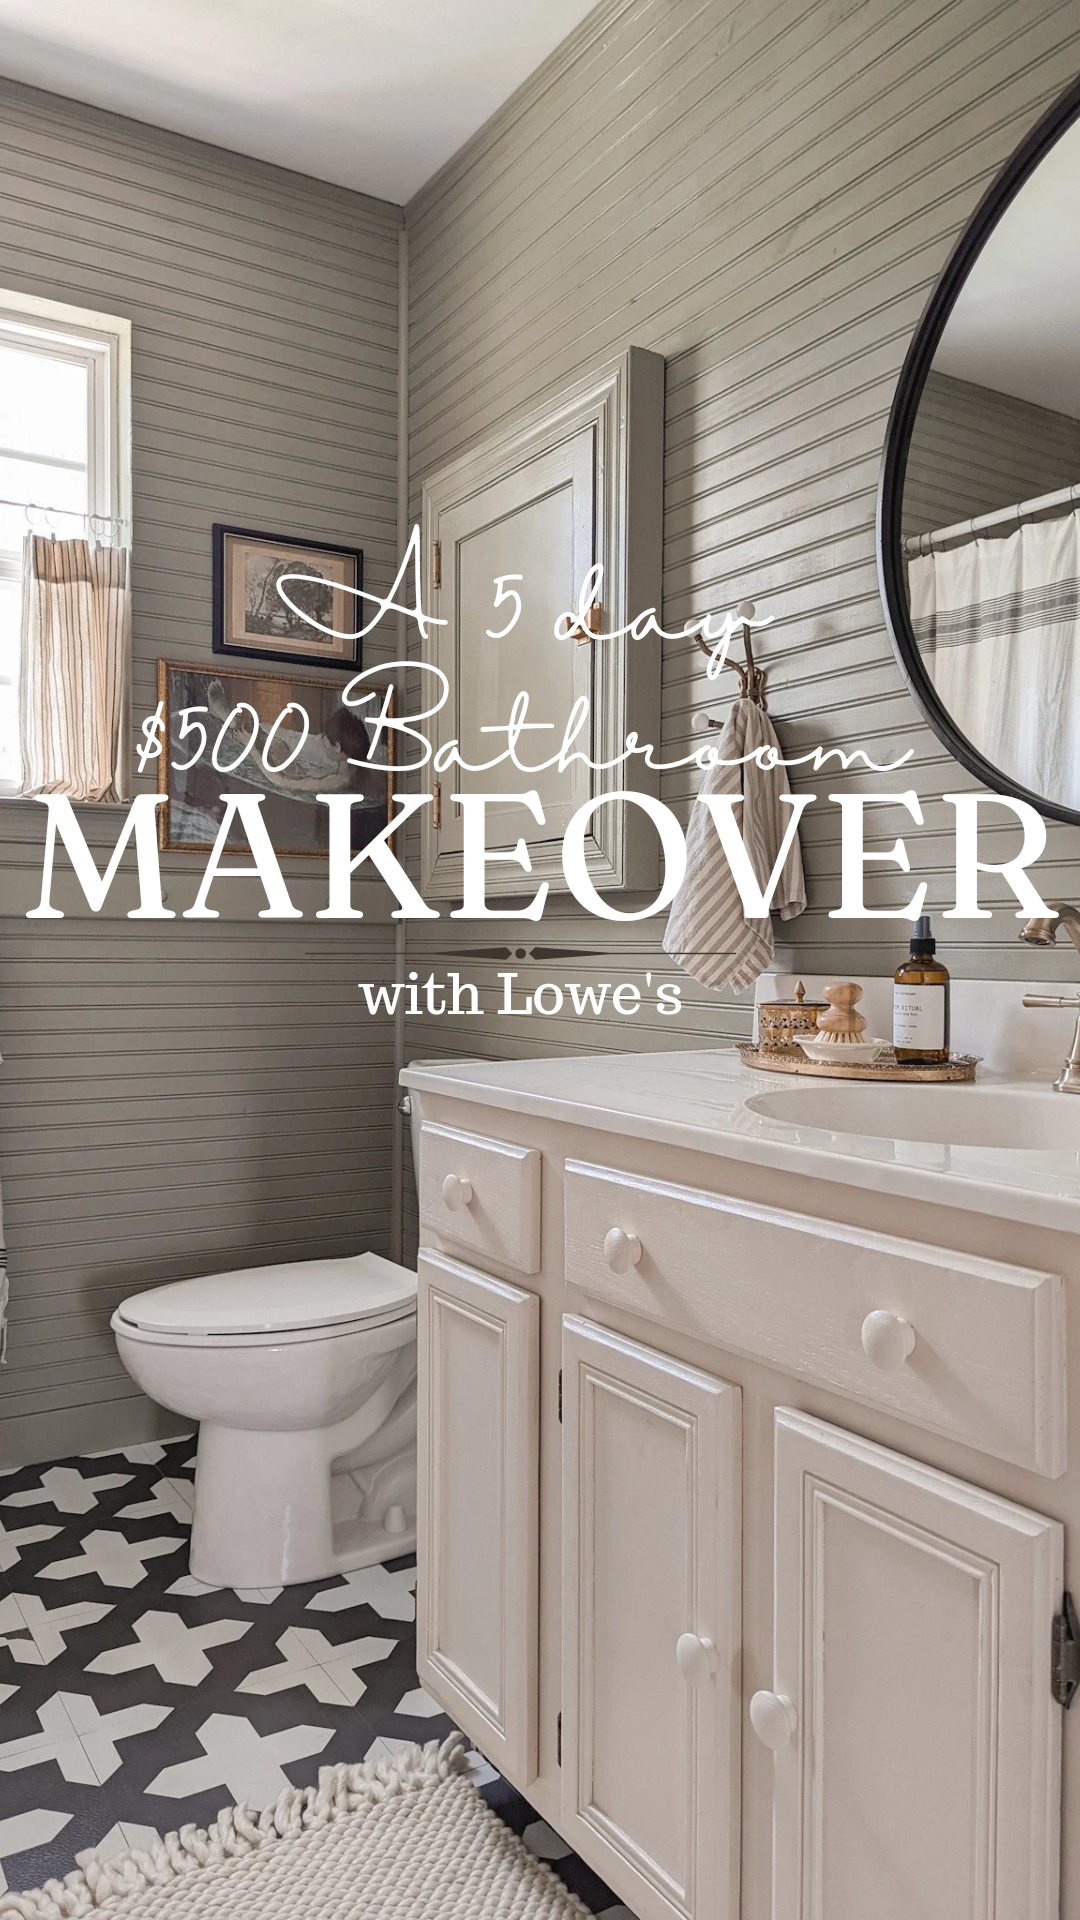
I was determined to give my bathroom a refresh for only $500 in just 5 days! I headed to Lowe’s for all the supplies because I knew I could find affordable products to complete the project. I selected beadboard planks as an easy and budget-friendly wall treatment, and choose Stainmaster paint in the colors Sweet […]
READ POST

Here is a supply list of all the items I used in my stairwell and hall update if you would like to replicate it. Pine Bead Board: Top Trim: Decorative Moulding: Paint Colors: Bead Board: Sherwin Williams – Natural Cream in Eggshell Walls: Behr Scuff Defense – Polar Bear in Flat Railing Primer: Stix Primer […]