

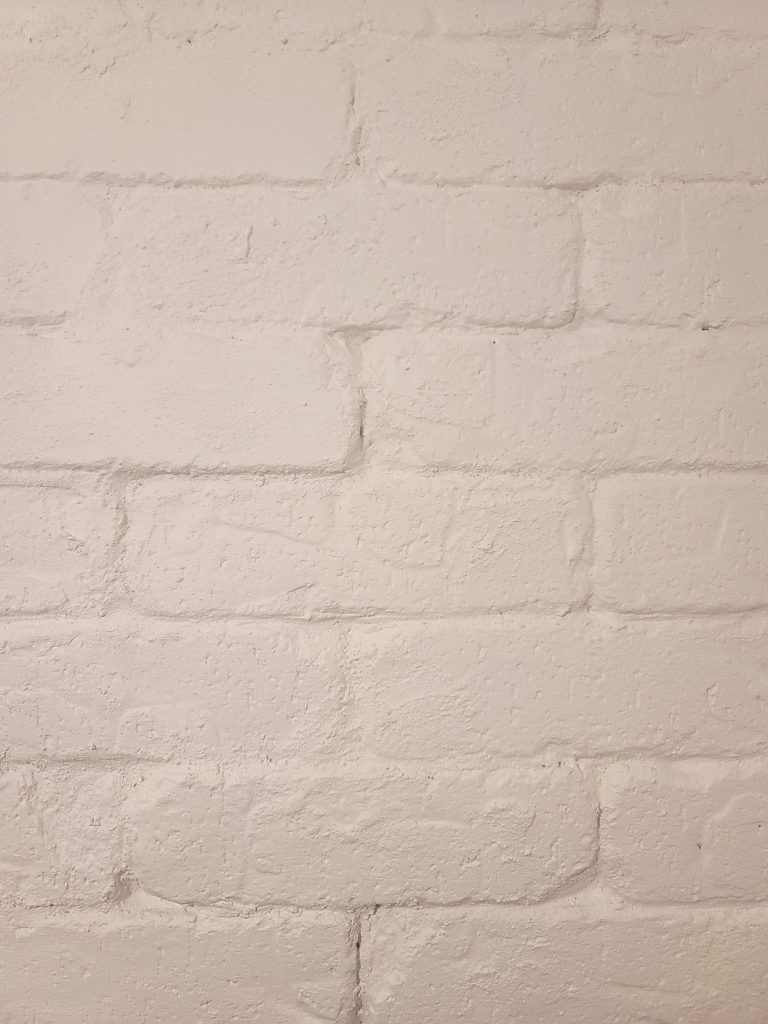
How to DIY an “old” brick wall
I wanted to do something in this space that would add an authentically “old” feel. I have a few things on my wish list and this textured brick look was at the top! I am really happy with how this turned out and how it adds much needed character to my 90’s builder grade home. Here are the step-by-step directions for how to create your own brick wall that will look as though it has been there for 100 years.
Supplies Needed
- Thin Bricks
- Construction Adhesive
- Pre-mixed Grout
- Mason Bag
- Margin Trowel
- Spacers
- Wet Tile Saw or Tile Cutter
- Paint of your choice
- Thick Paint Brush
Time to get Started
The first thing I did is measure the width of the wall to calculate how many full bricks would fit. The remaining several inches I then divided by 2 and used that number to then measure 2 brick that were that length. Those bricks then became my far left and far right piece. By doing this first it ensured a symmetrical look to the wall. I started at the bottom lining up the brick to butt up against the existing board and batten that was there. On each piece, I put a generous amount of Loctite All Purpose Construction Adhesive which I made sure would work on all surfaces like brick and drywall. To give it that authentically old hand laid feel, I did not use spacers when placing them from left to right.
A wet tile saw was used to cut the tiles to length. You can also use a regular tile cutter but I find it to be easier when cutting large amounts or cutting a square piece out of a tile to use a wet saw. It is a good idea to give the bricks time to dry instead of gluing them right away.
Moving up to the next row, place a thin brick so that the center of it is lined up with the gap between the 2 bricks in the previous row. Doing this will ensure an evenly staggered look. When working vertically, I did use spacers between the rows of brick to leave a little bit of a gap. Again, I did not use spacers left to right.
Time to Get Messy with Grout
Grab your gloves, grout, mason bag and trowel. Load your bag with the premixed grout and start piping it in between the bricks. This is where the gloves come in handy. After it firms up a bit(give it about 10 minutes), add some extra grout and smear away. I added more texture to the brick and left other spots with a little less grout to give it that authentic aged look. I held a plastic container under the part I was moving the grout around to catch the pieces that were falling off. I wanted a very textured and perfectly imperfect appearance because the goal is to make this look like an old brick wall that has been standing for 100 years.

Time to Paint
I wanted to go with a shade of white that is a little bit warmer than my usual Polar Bear color. The color I chose is Alabaster by Sherwin Williams. It is a creamy white that has warm tones. To start, load your paint brush heavily each time you need more paint. The paint has to be worked into the crevasses and divots. As you work the paint in, you will start to see the transformation. Luckily I did not need a second coat but depending on the color and quality of the paint, you may have to do a second coat.
Time to admire your work
This wall is just what this space needed. I love the texture and character it has added to this space. A friend came over and said it reminded him of an old brick wall you would see in a bar in the city and I couldn’t have been happier because that meant my mission of creating an authentically aged brick wall has been accomplished.
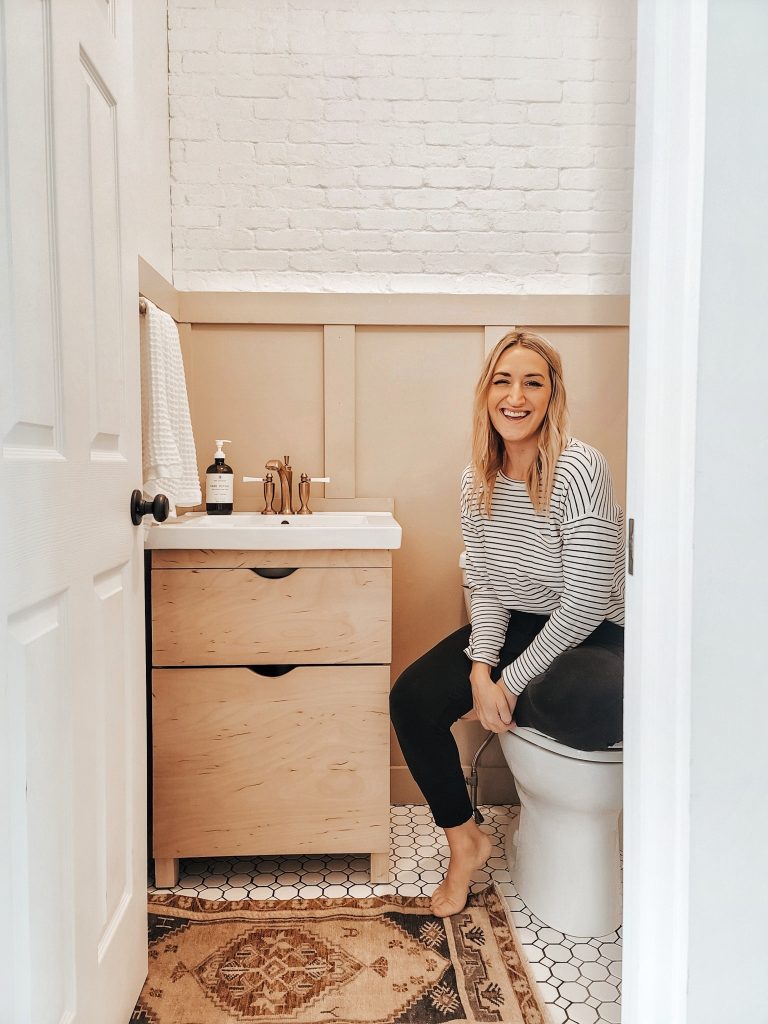
This is just the beginning of the powder room transformation and I am excited for the direction this is headed!

Leave a Reply


READY TO GROW YOUR INSTAGRAM AUTHENTICALLY?
I’m sharing the top 5 mistakes you’re making that are hurting your IG growth, and how you can solve them today!
GRAB MY FIVE TOP TIPS
WANTING TO MAKE YOUR SPACE MORE JOYFUL AND YOU?
There are three easy things I love to do to make my spaces full of joy and personality
DOWNLOAD THE GUIDE
FAVORITE POSTS:
Sometimes toys come along that are so fun, interactive and unique that you just have to have one. The new Little Live Pets My Puppy’s Home by Moose Toys is one of those! So we decided to surprise Bean with one. Have you heard about this toy?! It’s an interactive DIY toy that comes with […]
READ POST
I was determined to give my bathroom a refresh for only $500 in just 5 days! I headed to Lowe’s for all the supplies because I knew I could find affordable products to complete the project. I selected beadboard planks as an easy and budget-friendly wall treatment, and choose Stainmaster paint in the colors Sweet […]
READ POST
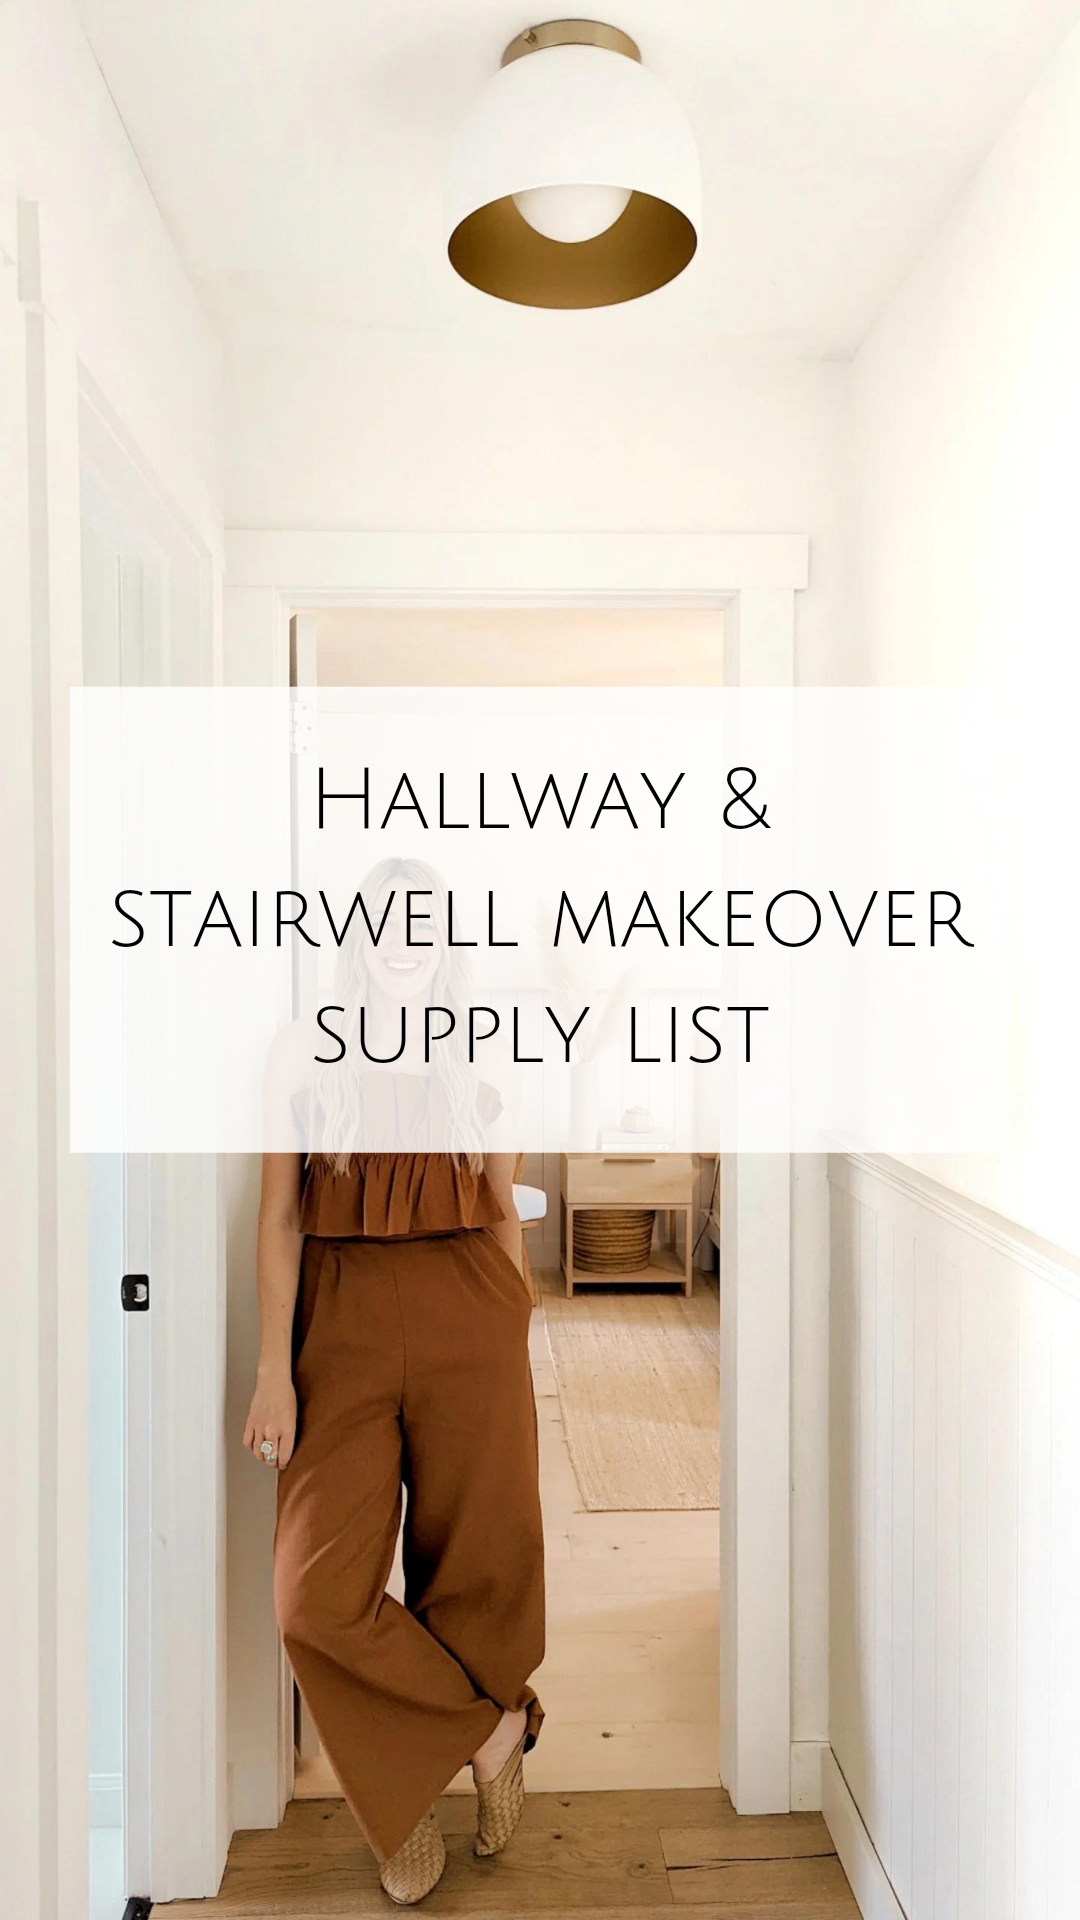
Here is a supply list of all the items I used in my stairwell and hall update if you would like to replicate it. Pine Bead Board: Top Trim: Decorative Moulding: Paint Colors: Bead Board: Sherwin Williams – Natural Cream in Eggshell Walls: Behr Scuff Defense – Polar Bear in Flat Railing Primer: Stix Primer […]