

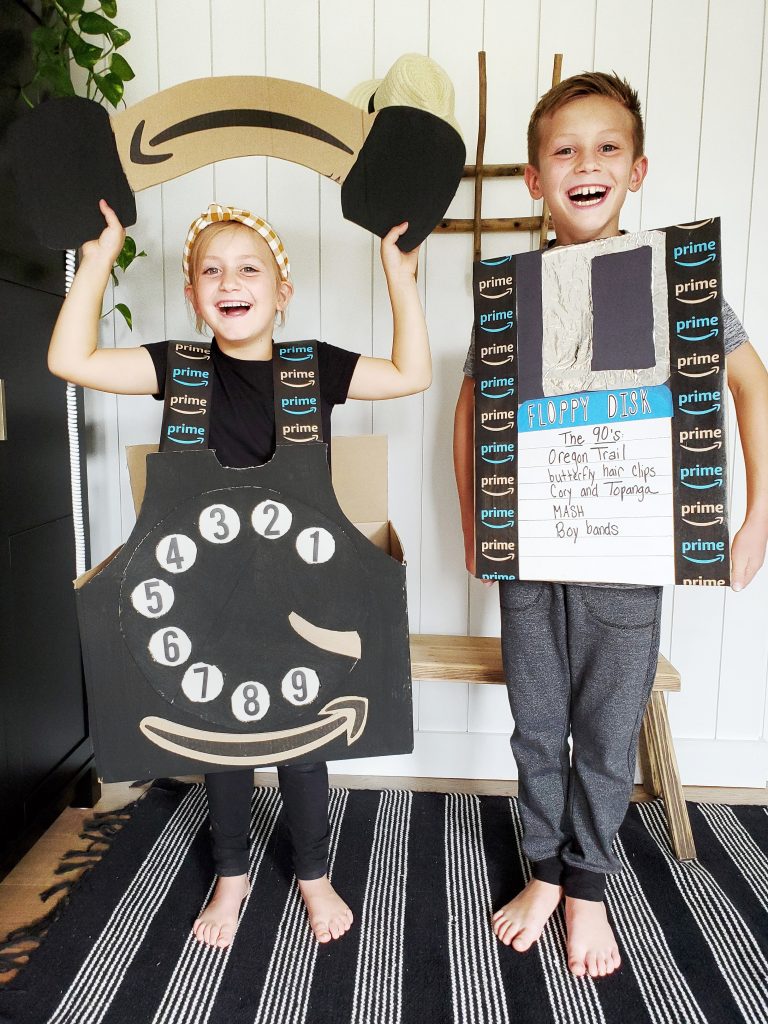
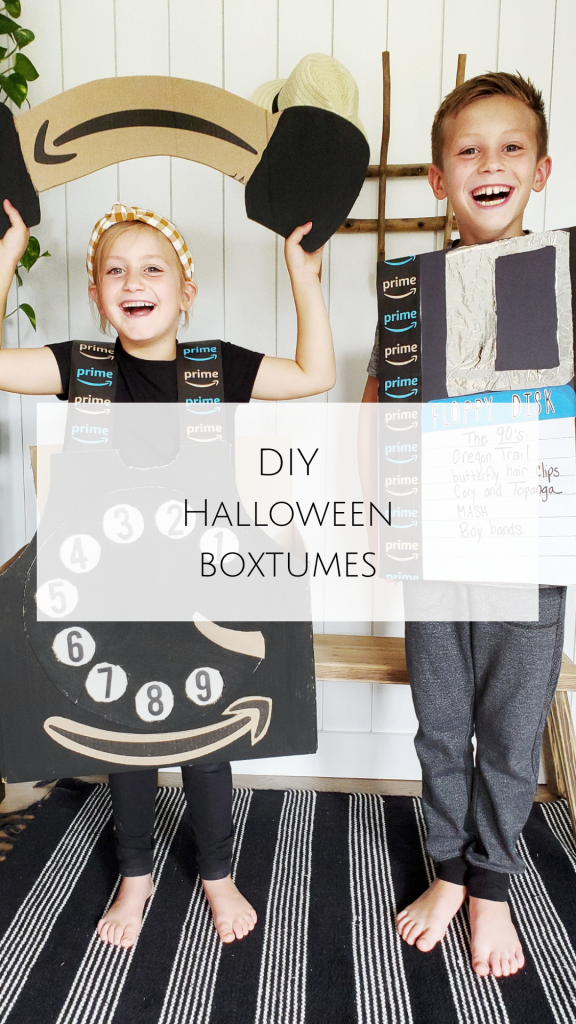
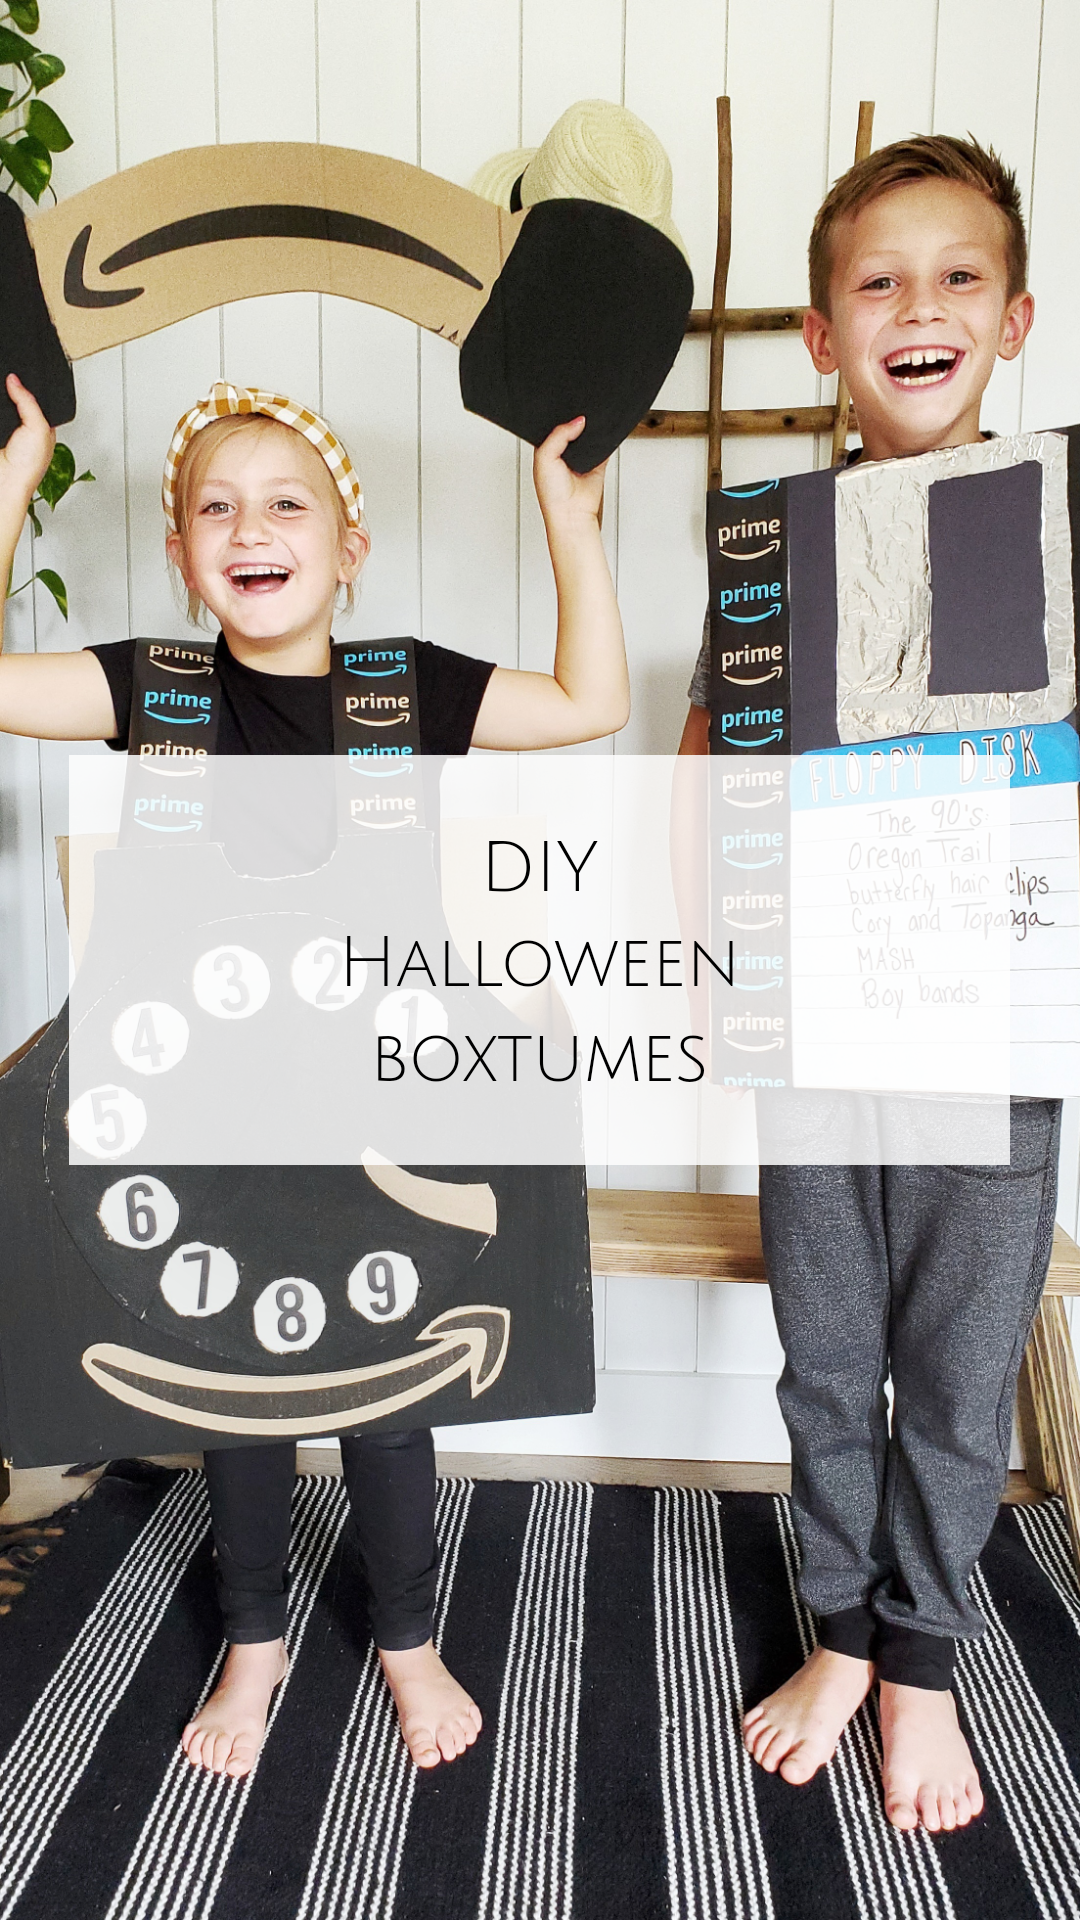
DIY Halloween Boxtumes
There’s no denying that everywhere you look, things from the 90’s are making a comeback. So I worked with Amazon Prime to reminisce about some iconic things from the 90’s and whip up some costumes that lent a playful nod to that era. As a child of the 90’s, I vividly remember using floppy disks at school, like playing “Oregon Trail”, watching TGIF on Fridays, and talking to my friends for hours on the phone while twirling the phone CORD around my fingers. In this smartphone era we live in, my kids don’t even know phone used to have cords, lol! In the spirit of Halloween and reminiscing about my own childhood, I made some Boxtumes (aka costumes made from boxes…get it, box-tumes 😉 ). Using a few simple materials you probably already have around your house, you too can make these boxtumes which are sure to get a good laugh and have all your friends talking about their favorite things from the 90s too! And if you don’t have these items laying around your house, visit the links below and pick them up on Amazon Prime, where members can get fast and free 1 day shipping on millions of products!
How to Make the Floppy Disk Boxtume:
Materials: Amazon Smile Boxes, Glue stick, Construction paper (1 piece black, 1 piece white), blue painters tape, scissors, aluminum foil, pencil, alphabet stickers (optional)
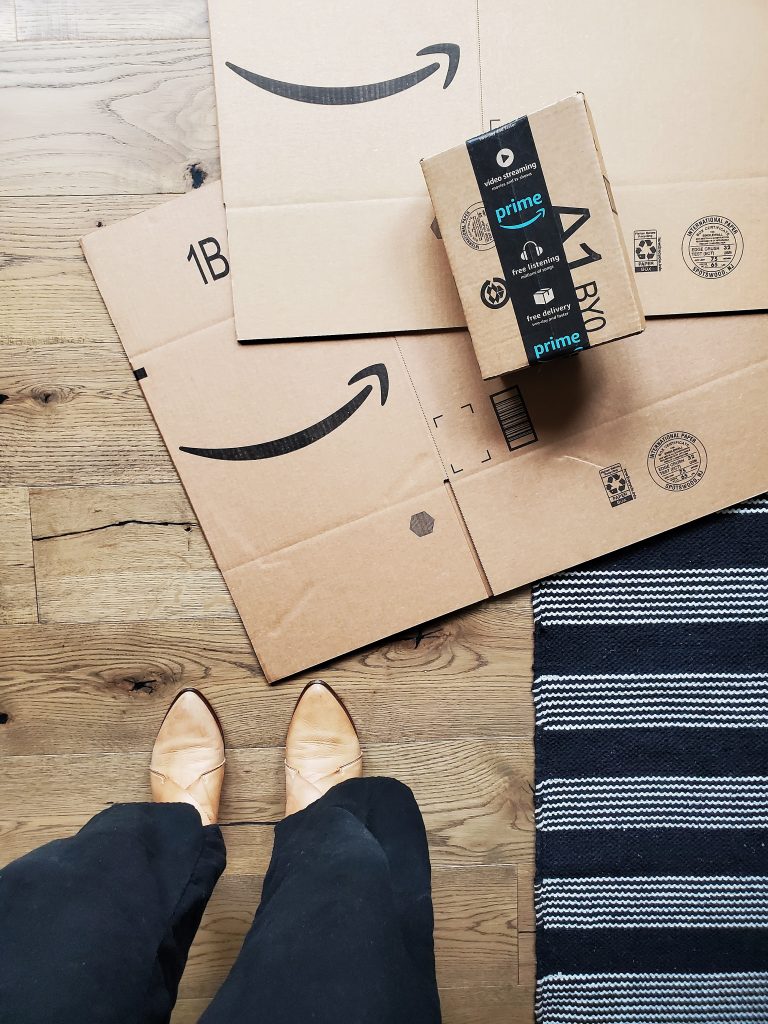
Step 1: Gather boxes.
Gather empty cardboard boxes. As a Prime member, I’m constantly getting packages, so there is no shortage of Amazon smile boxes around here. This is the perfect way to repurpose them into a Halloween costume!
Step 2: Get the “shell” of the box ready.
Fold the 2 side edges on the top of the box down so that they are tucked inside the box, and use tape or glue to hold them down so they aren’t visible. Cut off the bottom flaps of the box so that the bottom is entirely gone. Use the scraps that were cut off the bottom of the box and glue them inside to reinforce the upper flap on the front and back of the box to make it sturdier.

Step 3: Add materials to make it “look” like a floppy disk.
With the front of the box facing forward, turn a piece of black construction paper on its side and glue it at the top of the box. Then align a white piece of paper at the bottom center and glue it there. Cut a piece of blue painters tape the same length as the top white piece of paper. Cut the top edges to round them off. This rounded edge will give a more authentic floppy disk appearance!
Step 4: Use aluminum foil as the “metal” piece of the disk.
Add a rectangle of aluminum foil to the top of the floppy disk cardboard to represent the silvery metal part.

Step 5: Add text to the floppy disk.
I used alphabet stickers to label my floppy disk – Amazon has ample options to choose from! After labeling it “floppy disk”, use a pencil to draw straight lines going across the white construction paper. Then use that area to write things that you associate with the 90’s. It could be anything from Oregon Trail to NKOTB to scrunchies, grunge rock, anything!
Step 6: Add shoulder straps or handles.
I used pieces of the tape from the box as shoulder straps, but you could also use rope. Or you could skip the shoulder strap idea, and instead add handles to the sides of the boxtume. Either way, you’ve now got a fun and original costume that is sure to be a conversation starter.
How to Make the Rotary Telephone Boxtume
Materials: 2 Amazon Smile boxes, 1 piece of white construction paper, scissors, paint brush, black paint, hot glue gun, telephone cord (got it on Amazon!), tape, number stickers (optional)
Step 1: Get the “Shell” of the box ready.
Get a large Amazon smile box which will be the main box for the structure of the costume, and cut off the bottom flaps. Get a second box (a spare one) and cut a circle out of it. Then, cut 9 holes around the inside edge of that circle, one for each digit on the phone, numbers 1 through 9.
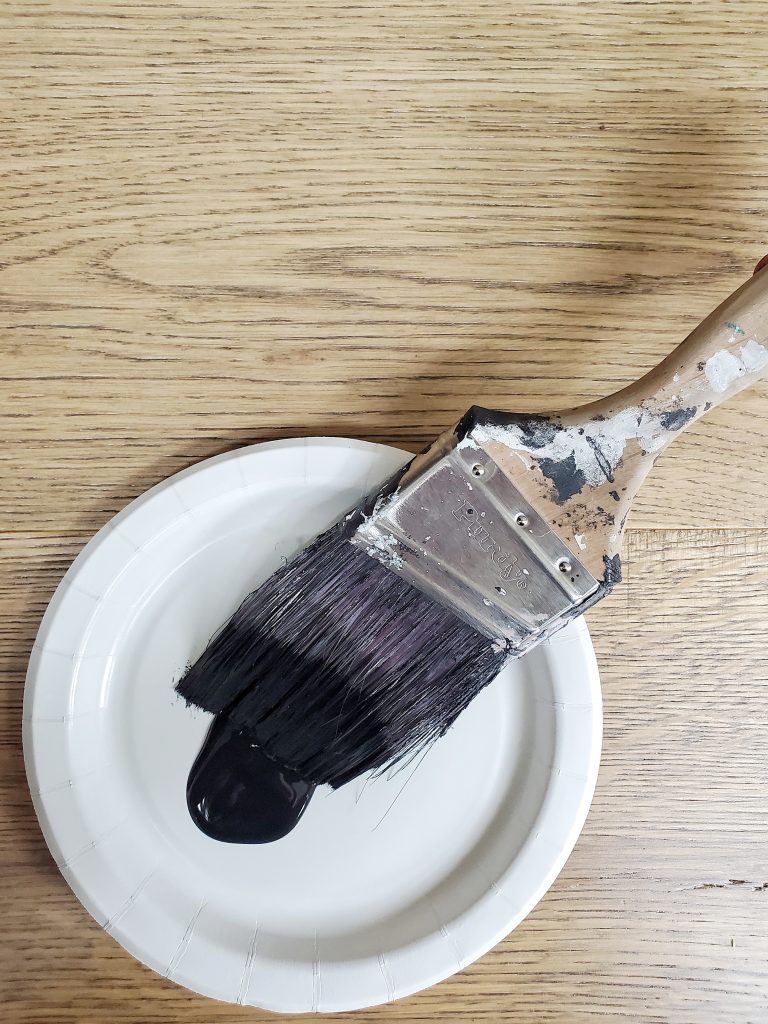
Step 2: Paint.
Use black paint (or any color of your choice!) to paint both the main box and the circle you just cut out. Let them dry.

Step 3: Adding Digits, 1 – 9
Use a piece of white construction paper to cut 9 small white squares. Tape them on the back of the circle you cut out in the previous step. Flip it over. Add number stickers 1 through nine on the front side of each white piece of paper that is peeking through the cardboard cut-out circles.

Step 4: Making the Handheld Receiver:
Use the spare box from step 1 to cut out a handheld receiver piece. Paint it to match the same color as the rest of the phone. Attach a telephone cord (which you can get for less than $7 on Amazon). I made a small slit in the side of the box that I slid it through and it then stayed in place on its own. To attach it to the handheld receiver, I used a hot glue gun and then a piece of clear packing tape, to make sure it would stay in place. Adding that cord was so fun – I can’t even remember the last time I saw one of them in person! It definitely made me nostalgic for my younger teen years and telephone conversations with friends about middle school drama, and who liked who, and which teachers were the mean ones 😉
Step 5: Put it all together.
Get the main body of the phone and attach the circle (the one with the digits 1 – 9 on it) to the front. Use hot glue from a hot glue gun (less than $10 on amazon.com) to hold them together.

Now step back and admire your hard work and resourcefulness!
This post was sponsored by Amazon but all ideas and opinions are my own. Thank you for supporting the brands who support me!
Leave a Reply


READY TO GROW YOUR INSTAGRAM AUTHENTICALLY?
I’m sharing the top 5 mistakes you’re making that are hurting your IG growth, and how you can solve them today!
GRAB MY FIVE TOP TIPS
WANTING TO MAKE YOUR SPACE MORE JOYFUL AND YOU?
There are three easy things I love to do to make my spaces full of joy and personality
DOWNLOAD THE GUIDE
FAVORITE POSTS:
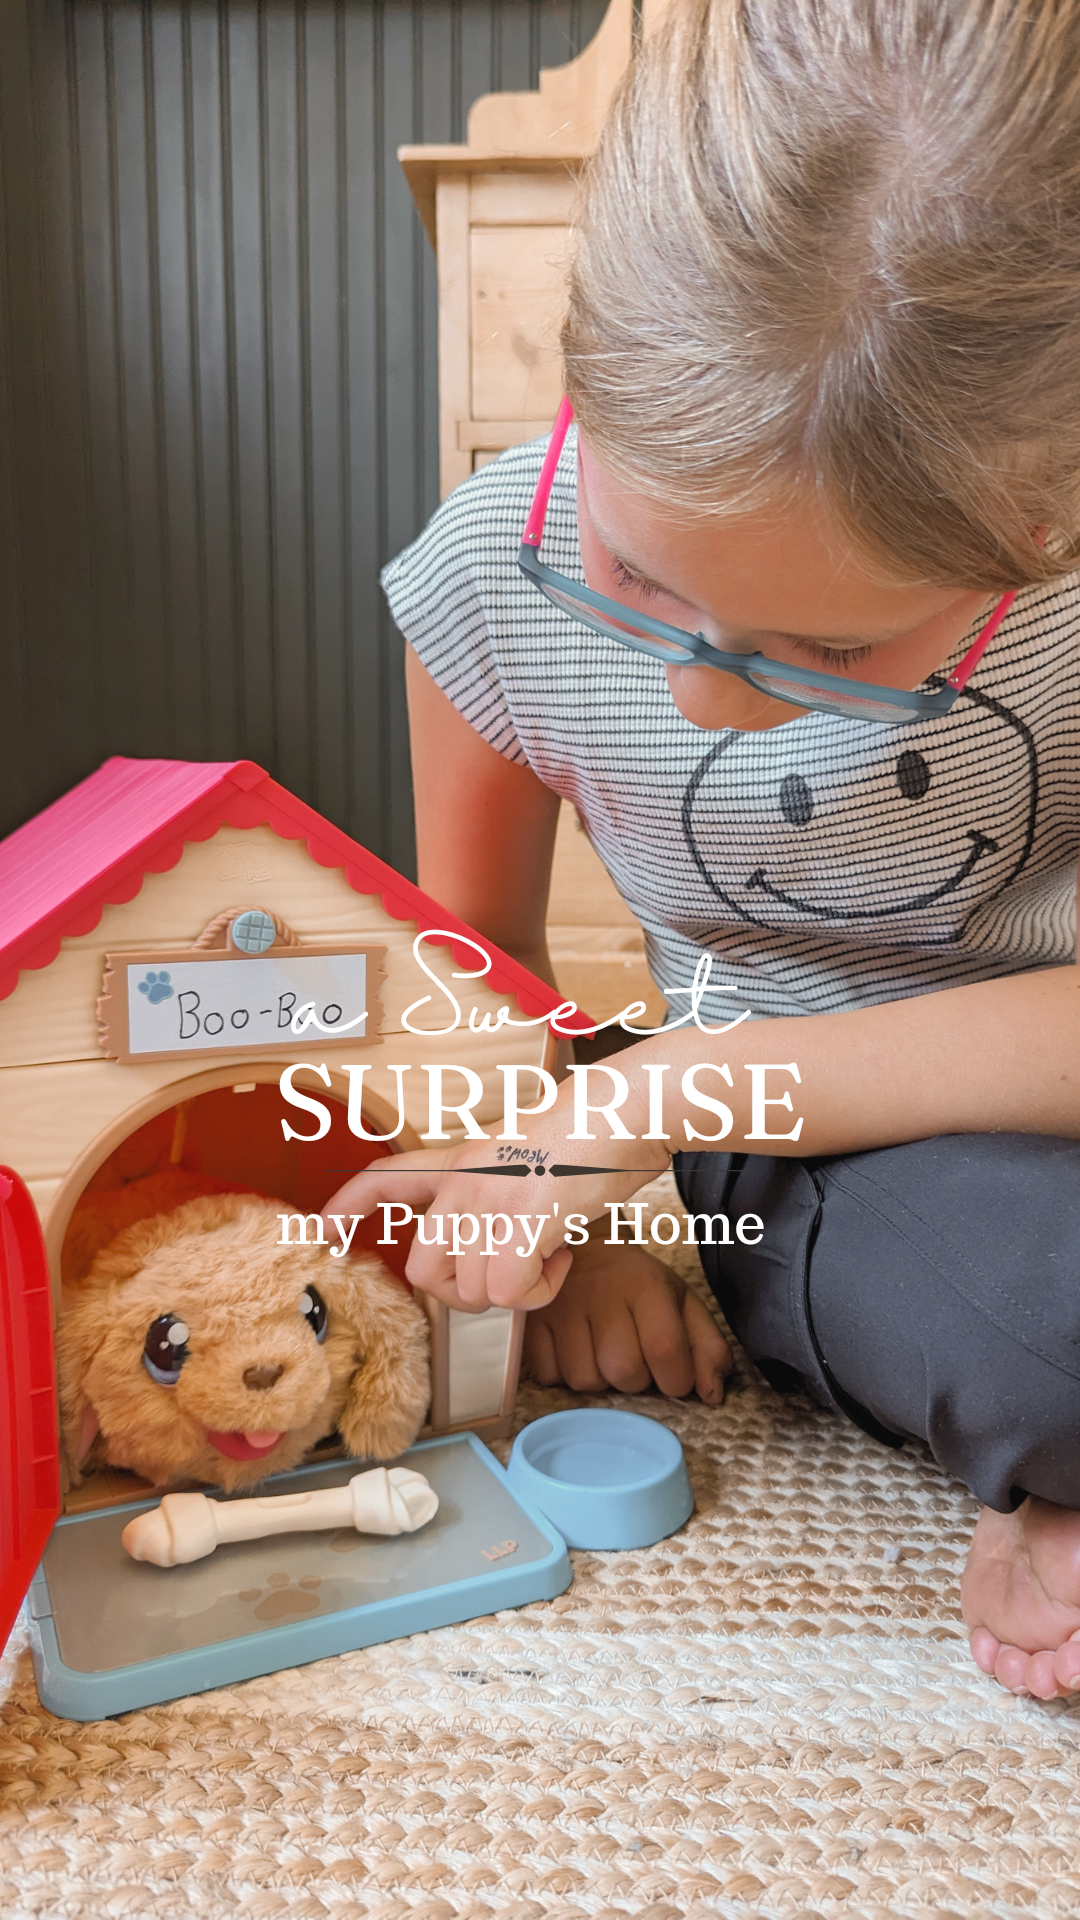
Sometimes toys come along that are so fun, interactive and unique that you just have to have one. The new Little Live Pets My Puppy’s Home by Moose Toys is one of those! So we decided to surprise Bean with one. Have you heard about this toy?! It’s an interactive DIY toy that comes with […]
READ POST
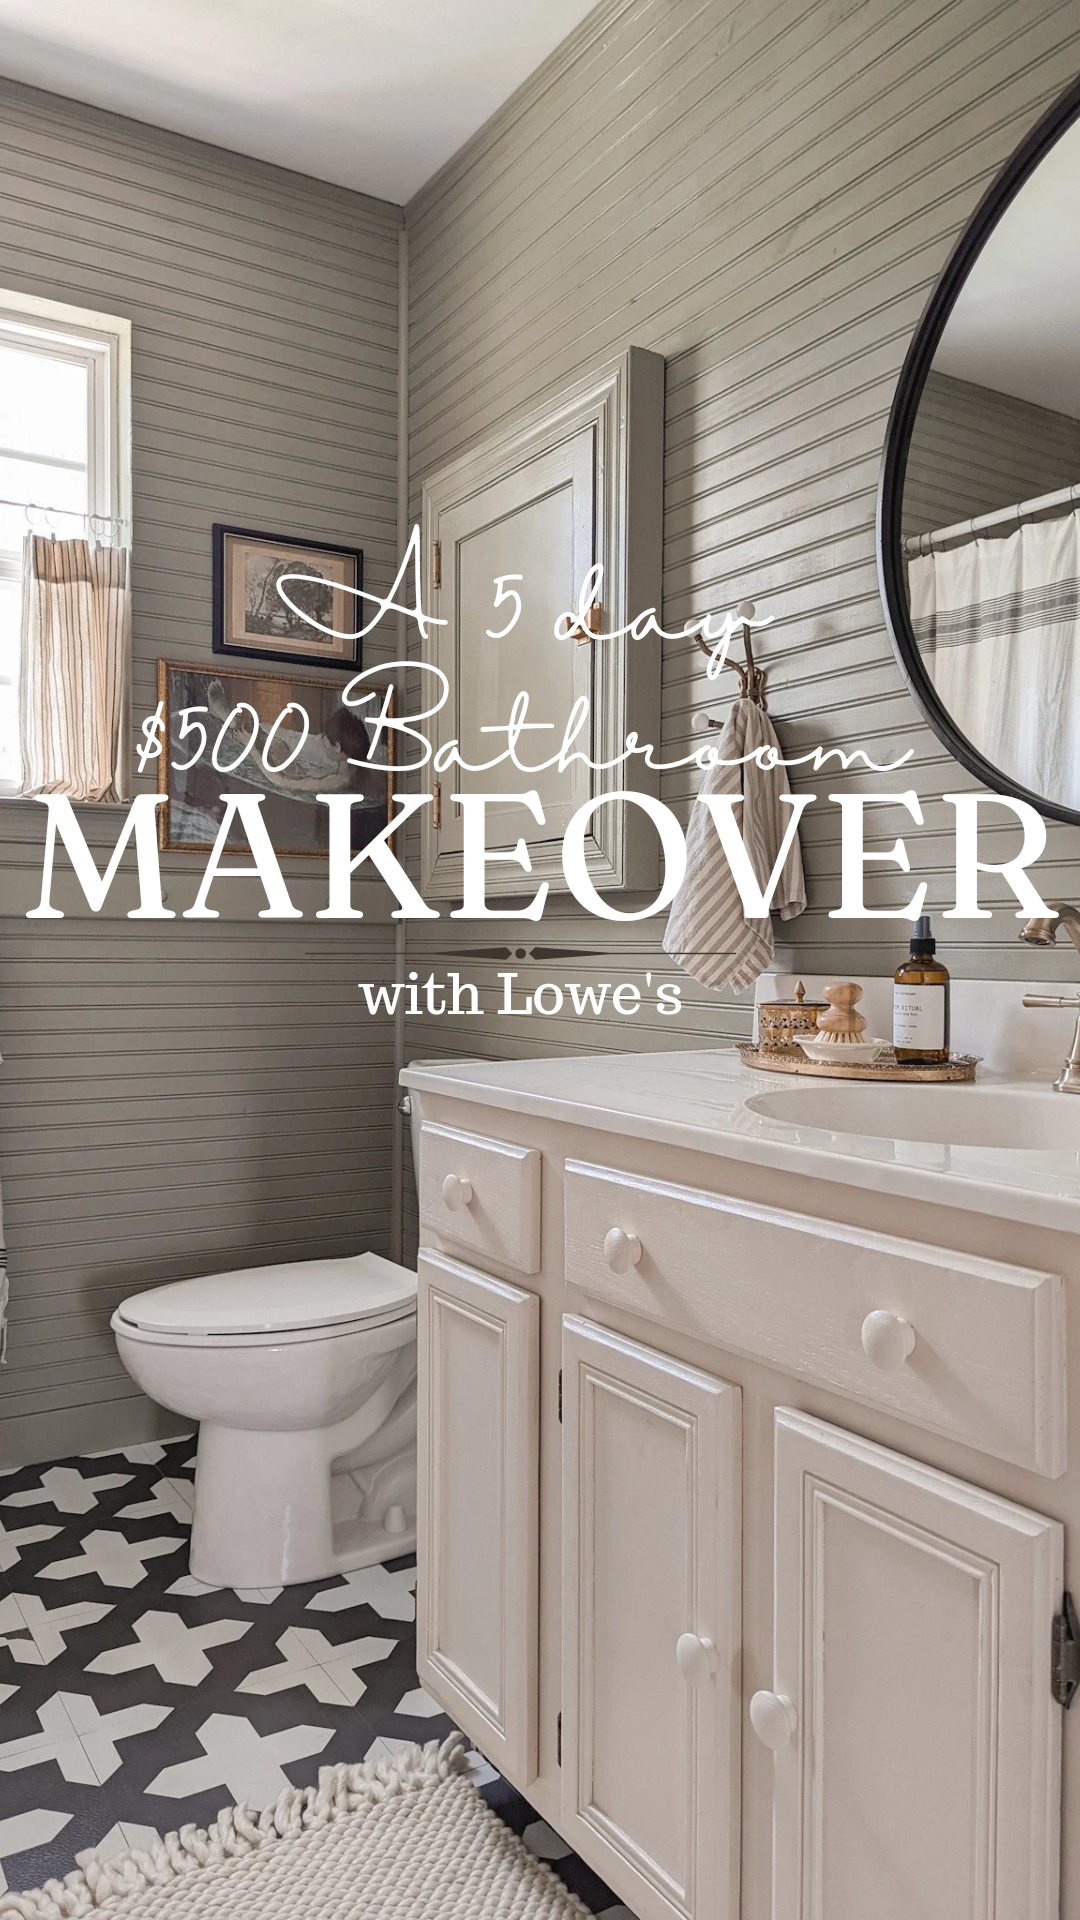
I was determined to give my bathroom a refresh for only $500 in just 5 days! I headed to Lowe’s for all the supplies because I knew I could find affordable products to complete the project. I selected beadboard planks as an easy and budget-friendly wall treatment, and choose Stainmaster paint in the colors Sweet […]
READ POST
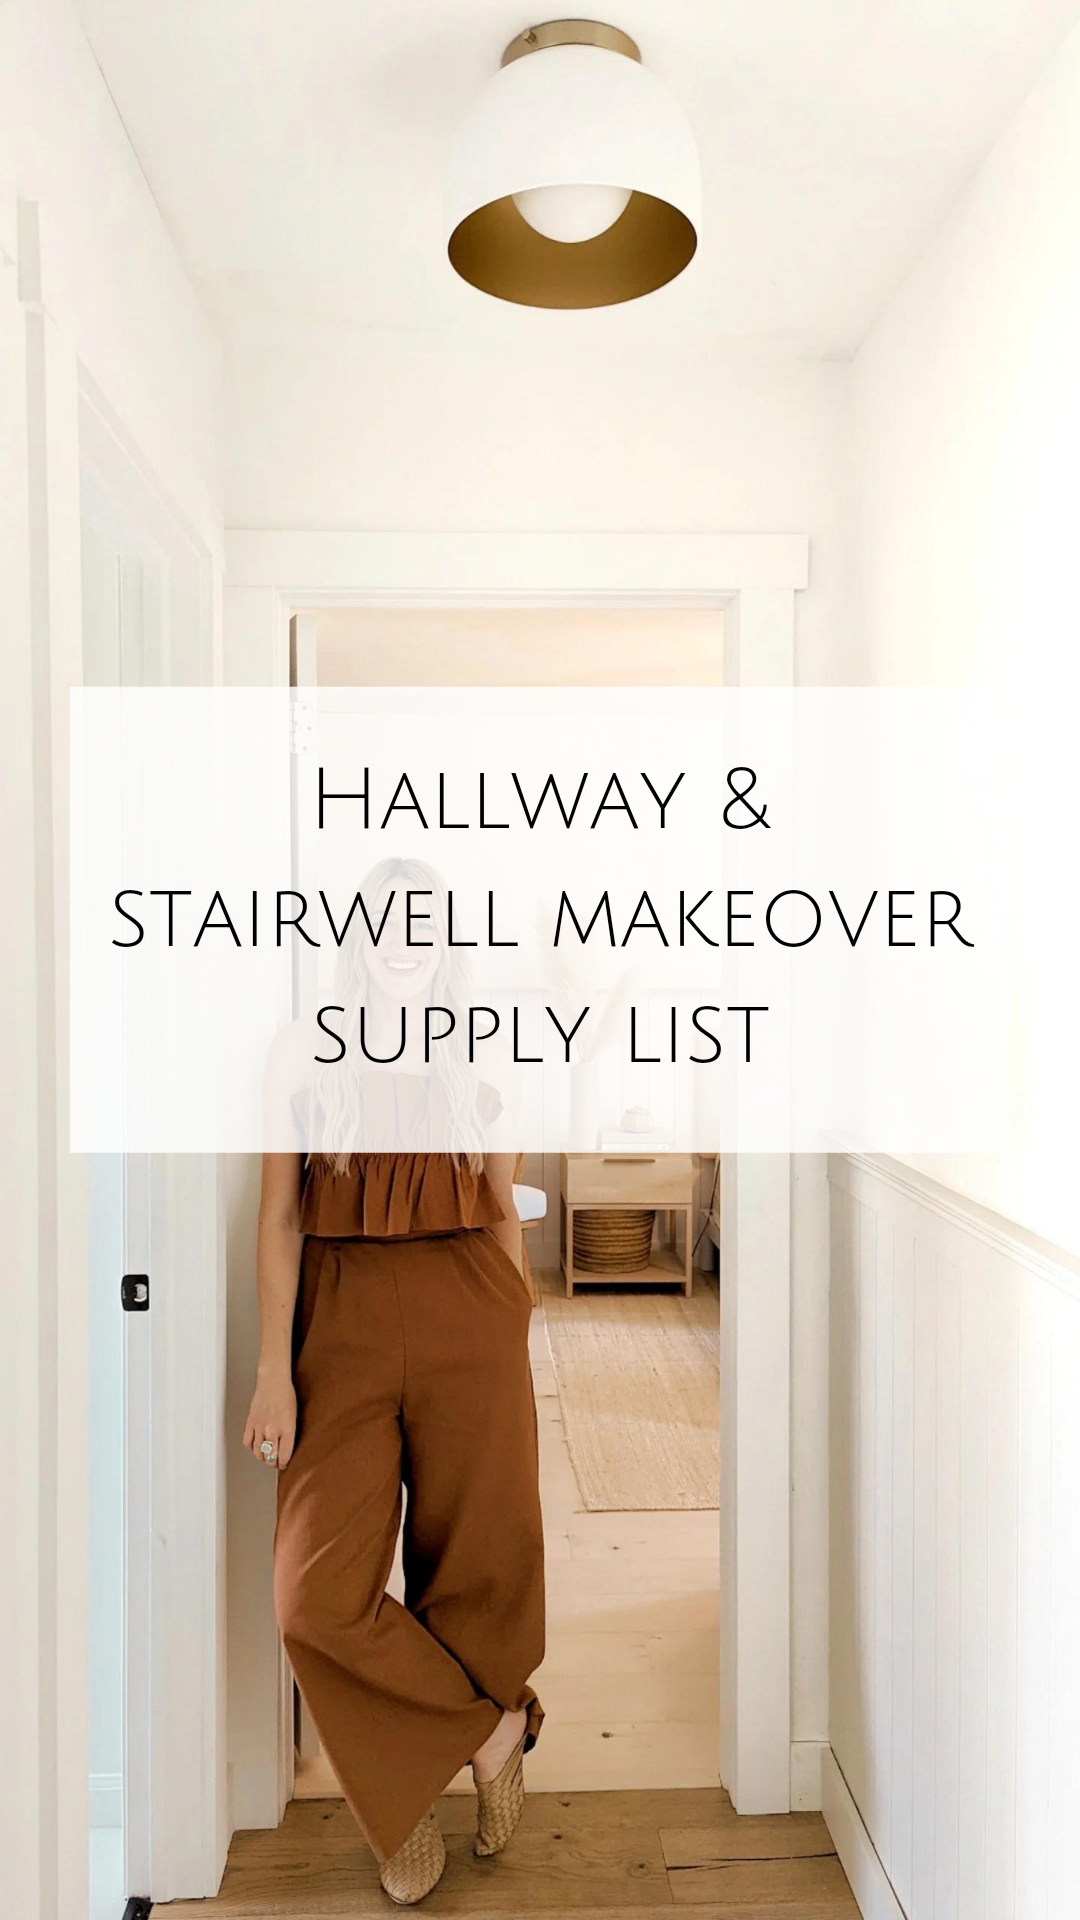
Here is a supply list of all the items I used in my stairwell and hall update if you would like to replicate it. Pine Bead Board: Top Trim: Decorative Moulding: Paint Colors: Bead Board: Sherwin Williams – Natural Cream in Eggshell Walls: Behr Scuff Defense – Polar Bear in Flat Railing Primer: Stix Primer […]