

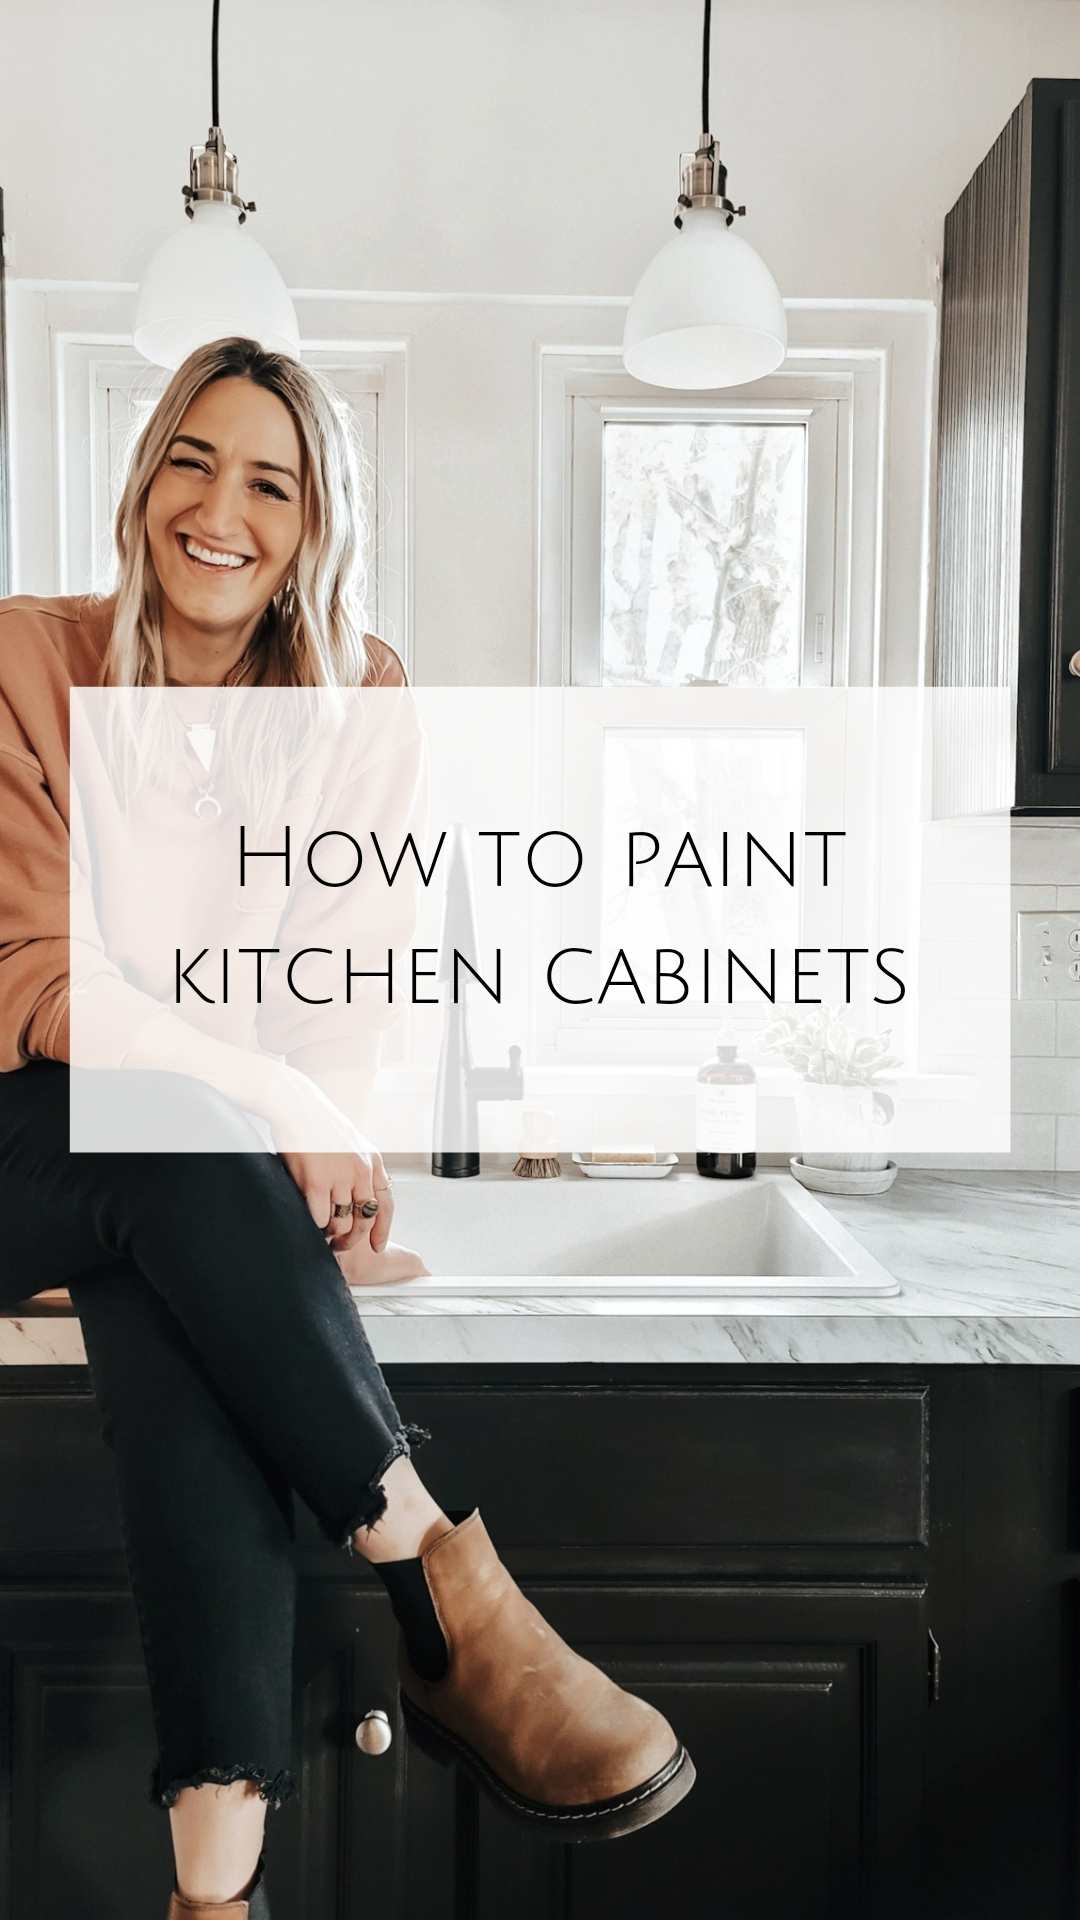
How to DIY Paint Kitchen Cabinets
I know the thought of painting kitchen cabinets can seem overwhelming and intimidating. But it’s the best way to give an outdated kitchen a major makeover on a limited budget. For some people, getting new cabinets is simply not within financial reach. But you can breathe new life into what you’ve already got by painting the existing ones! With several hundred dollars, the right equipment, and a few days, it is possible to give your cabinets a new lease on life! I’ll show you step by step what we did in Kelsy’s kitchen so that you know exactly what to do if you want to paint yours.
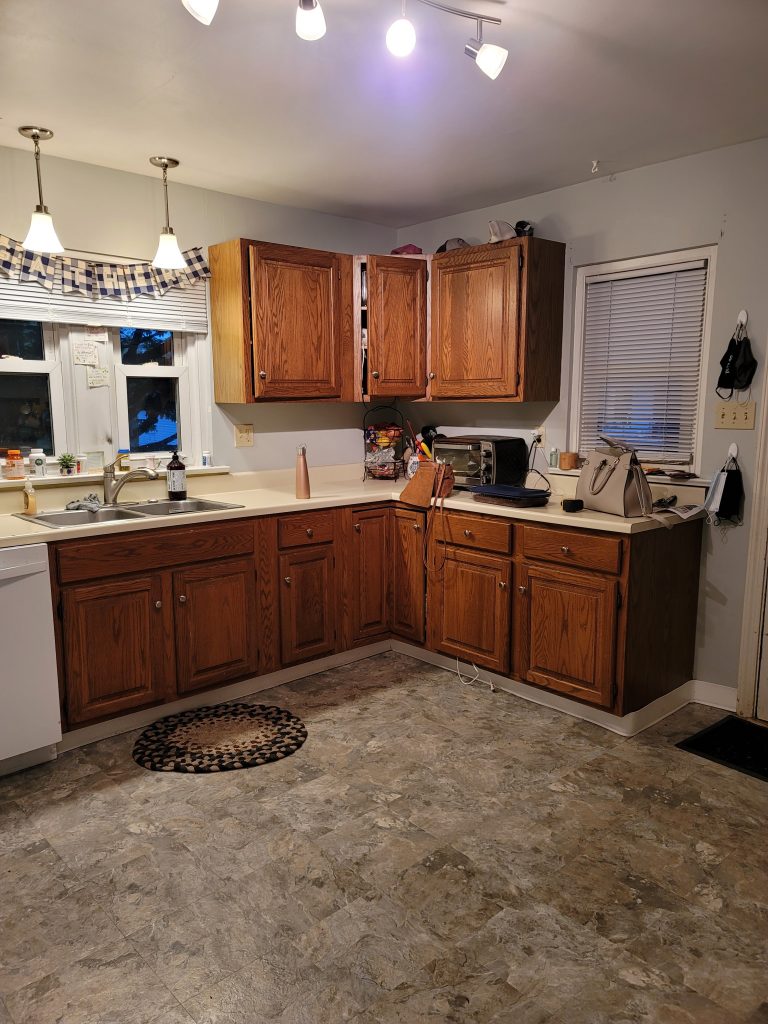
Here’s what we started with…
Getting the cabinets ready
The first thing we did to prepare the cabinets for a fresh coat of paint was to remove all the doors and hardware. Then we prepared the surface of the cabinet doors by getting the glossy finish off because paint does not adhere well to a shiny glossy surface. I used liquid sandpaper. Simply wipe it on with a rag and let it dry. I wiped not only the doors, but also the cabinet bases. I then took my mouse sander and just did a quick pass over the doors & bases. After sanding, I used a tack cloth to remove any left over dust and dirt.
Paint Sprayer
I wanted to make sure the cabinet doors had a nice finish and the only way to get that was to spray them. I did my research and looked at reviews and decided to buy a Graco Paint Sprayer . I also bought these plastic inserts that the sprayer requires. And I made sure to get this cleaner as well.
Ready to prime
After gathering my face mask and paint coveralls, I was ready to go. Because the cabinets will get a lot of use, I wanted to make sure the paint would adhere so I used a coat of primer first. I purchased Stix Bonding Primer, which my local paint store tinted gray (since the cabinets will be black).
I began by hand brushing and rolling the primer on the bases of the cabinets inside. I then headed outside to begin priming the doors with the paint sprayer.
I put a large dropcloth on the ground outside and then placed scrap pieces of wood on top of it. I then rested the cabinet doors on top of the scrap pieces of wood (this allowed them to be propped up a bit so that they didn’t stick to the drop cloth).
Then I got to work with my paint sprayer, coating the doors in a single coat of primer. Be sure you carefully read the instructions with the sprayer because it will need to be primed each time before use to ensure even coverage. I started by priming the back of the cabinet doors first. This way if there was any learning curve with the new sprayer, I could “learn” on the back side of the cabinets that no one will ever really see. I gave ample drying time (several hours on a windy day) before flipping them over and painting the other side.
After priming the cabinets, it was evident that the paint sprayer was not a disappointment! It was easy to use and the finish was super smooth. With a paint sprayer, the doors were literally painted in a couple minutes. It was much faster than when we handpainted our own kitchen cabinets 5 years ago. And handpainting them had left subtle brush strokes even with using self-leveling paint. I can tell you that the paint sprayer finish makes these cabinets look much nicer than brushing or rolling them would! However, I will say that the clean up of the paint sprayer takes a lot of time, because it’s very important that the paint sprayer is cleaned out thoroughly and properly each time or else it jams with paint and won’t work. So as much as I wanted to just stick plastic bag over it and call it a day like I do with my paint brushes, it is important to clean it out after each use to avoid clogging. So plan to spend about 20-30 minutes cleaning the paint sprayer when you’re done.
Time to Paint
I decided to use Tricorn Black by Sherwin Williams, which I had colormatched and mixed at Benjamin Moore in their Advance line of paint. This is a water based paint that has an oil finish. So it’s a great choice because it has the durability of oil paint, with the ease of clean up of a water-based one. Highly recommend it! Once again, I started inside with the bases then moved onto painting the doors outside. After the first coat of paint, I inspected it to be sure there were no flaws before applying the second coat. I then allowed the fronts to dry overnight. The next day I did the same with the back. One of the hazards about painting outside in an exposed space is the possibility for debris. There were 2 cabinets that I had to lightly sand and reapply paint.
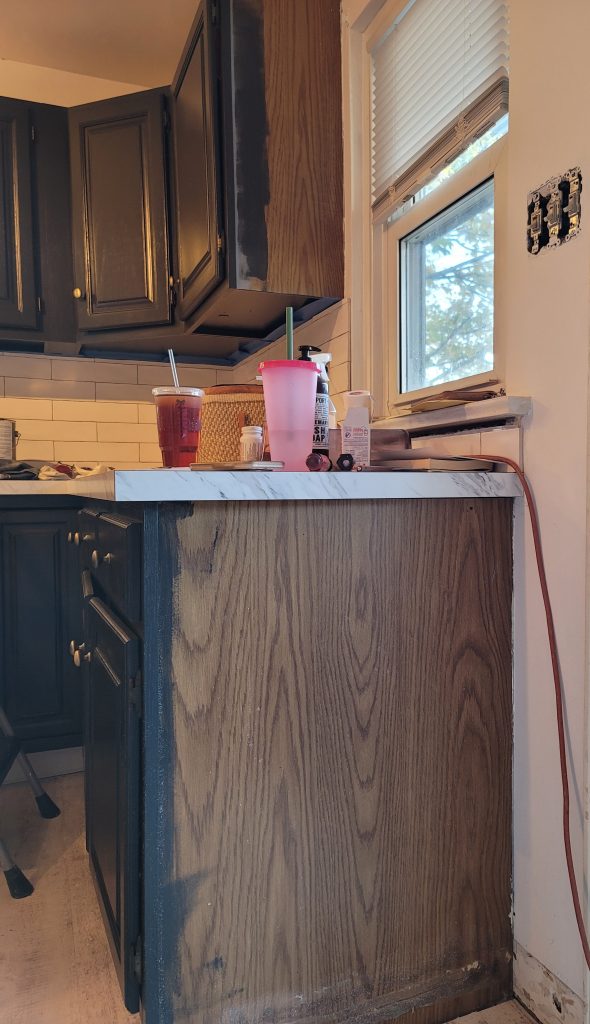
The sides of the cabinets are not real wood. In order to create a seamless look, we attached pole wrap to the ends. Since it is real wood, we simply cut to length and painted the wrap the color of the cabinets.
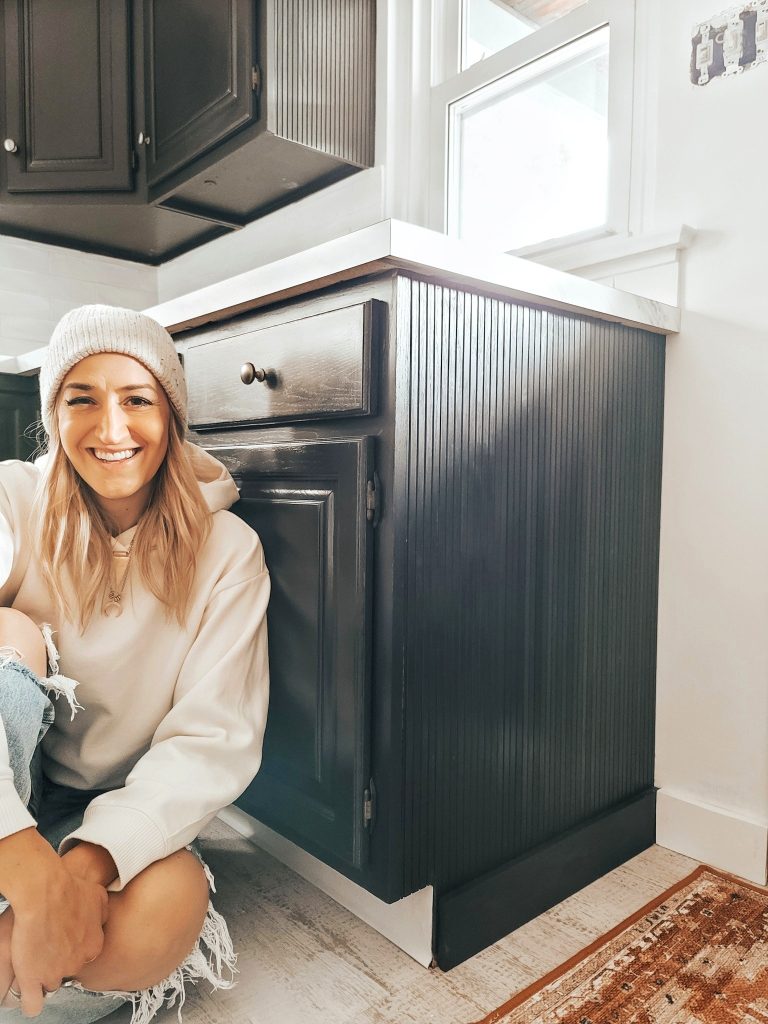
Rehanging and Hardware
Time to put this kitchen back together!! The cabinet hinges despite the age were not in bad shape so I decided to reuse them because we are trying to keep costs down. After reattaching the hinges, I added the new drawer and cabinet pulls. I found brushed antique cabinet pulls that really popped beautifully against the new black paint. Then I rehung the cabinet doors.

Let me tell you….I love how it all came together! I never get tired of the transforming power of paint, and the impact it has, especially when you’re working with a tight budget. These old cabinets were given a whole new lease on life thanks to a few gallons of paint!
Link to all the things:
Leave a Reply


READY TO GROW YOUR INSTAGRAM AUTHENTICALLY?
I’m sharing the top 5 mistakes you’re making that are hurting your IG growth, and how you can solve them today!
GRAB MY FIVE TOP TIPS
WANTING TO MAKE YOUR SPACE MORE JOYFUL AND YOU?
There are three easy things I love to do to make my spaces full of joy and personality
DOWNLOAD THE GUIDE
FAVORITE POSTS:
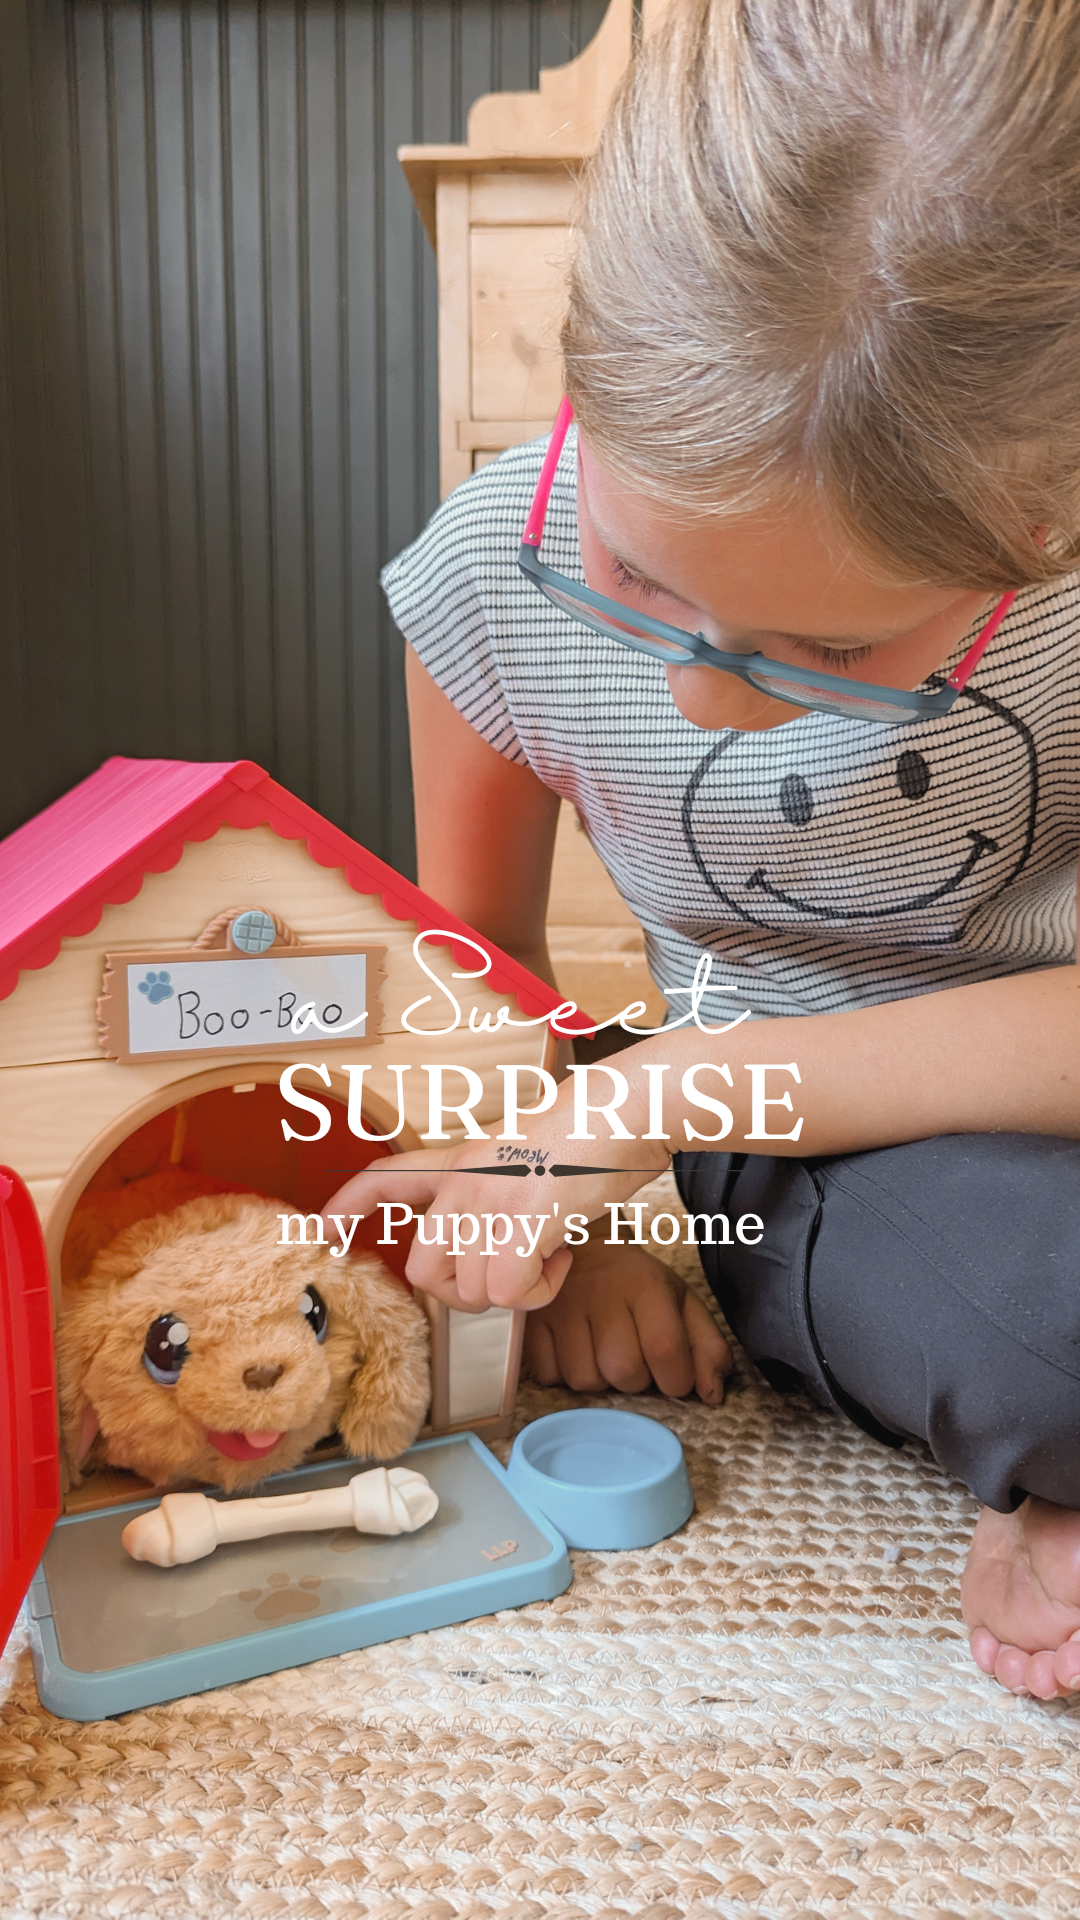
Sometimes toys come along that are so fun, interactive and unique that you just have to have one. The new Little Live Pets My Puppy’s Home by Moose Toys is one of those! So we decided to surprise Bean with one. Have you heard about this toy?! It’s an interactive DIY toy that comes with […]
READ POST
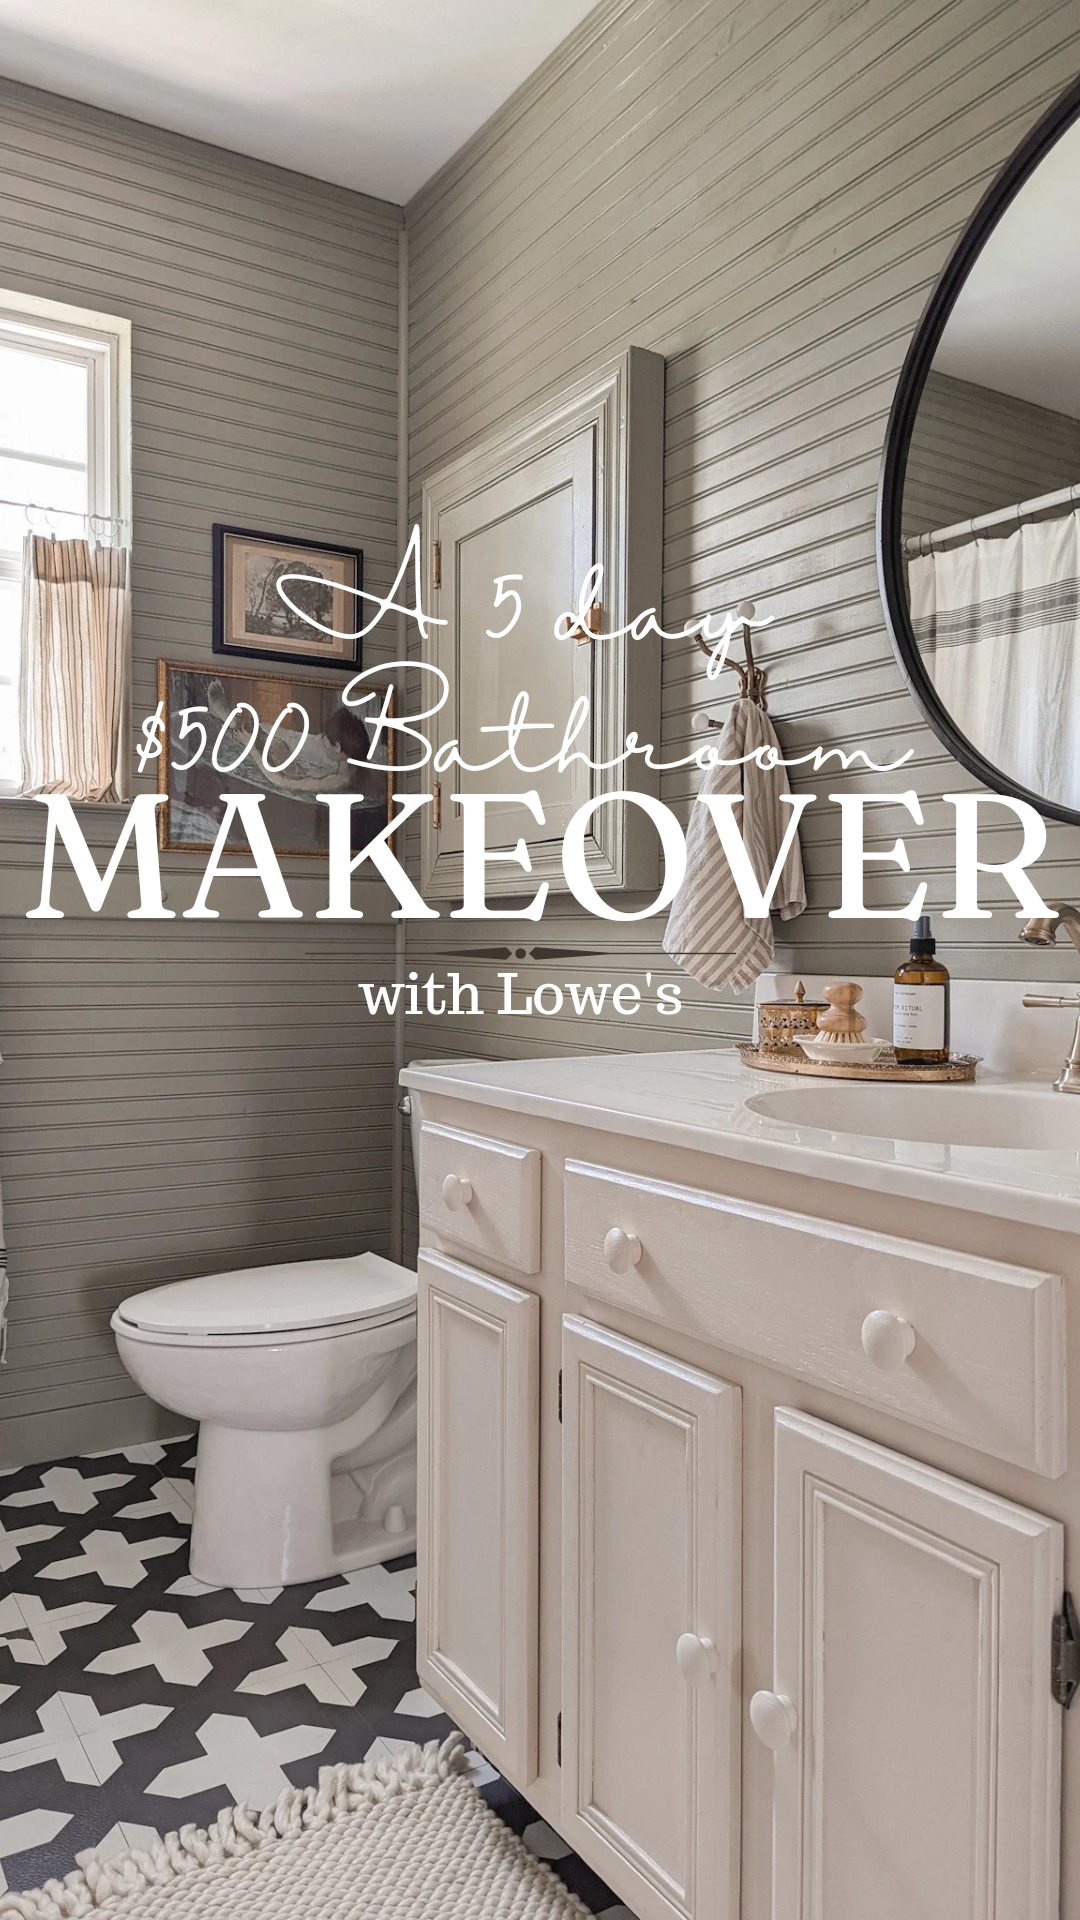
I was determined to give my bathroom a refresh for only $500 in just 5 days! I headed to Lowe’s for all the supplies because I knew I could find affordable products to complete the project. I selected beadboard planks as an easy and budget-friendly wall treatment, and choose Stainmaster paint in the colors Sweet […]
READ POST
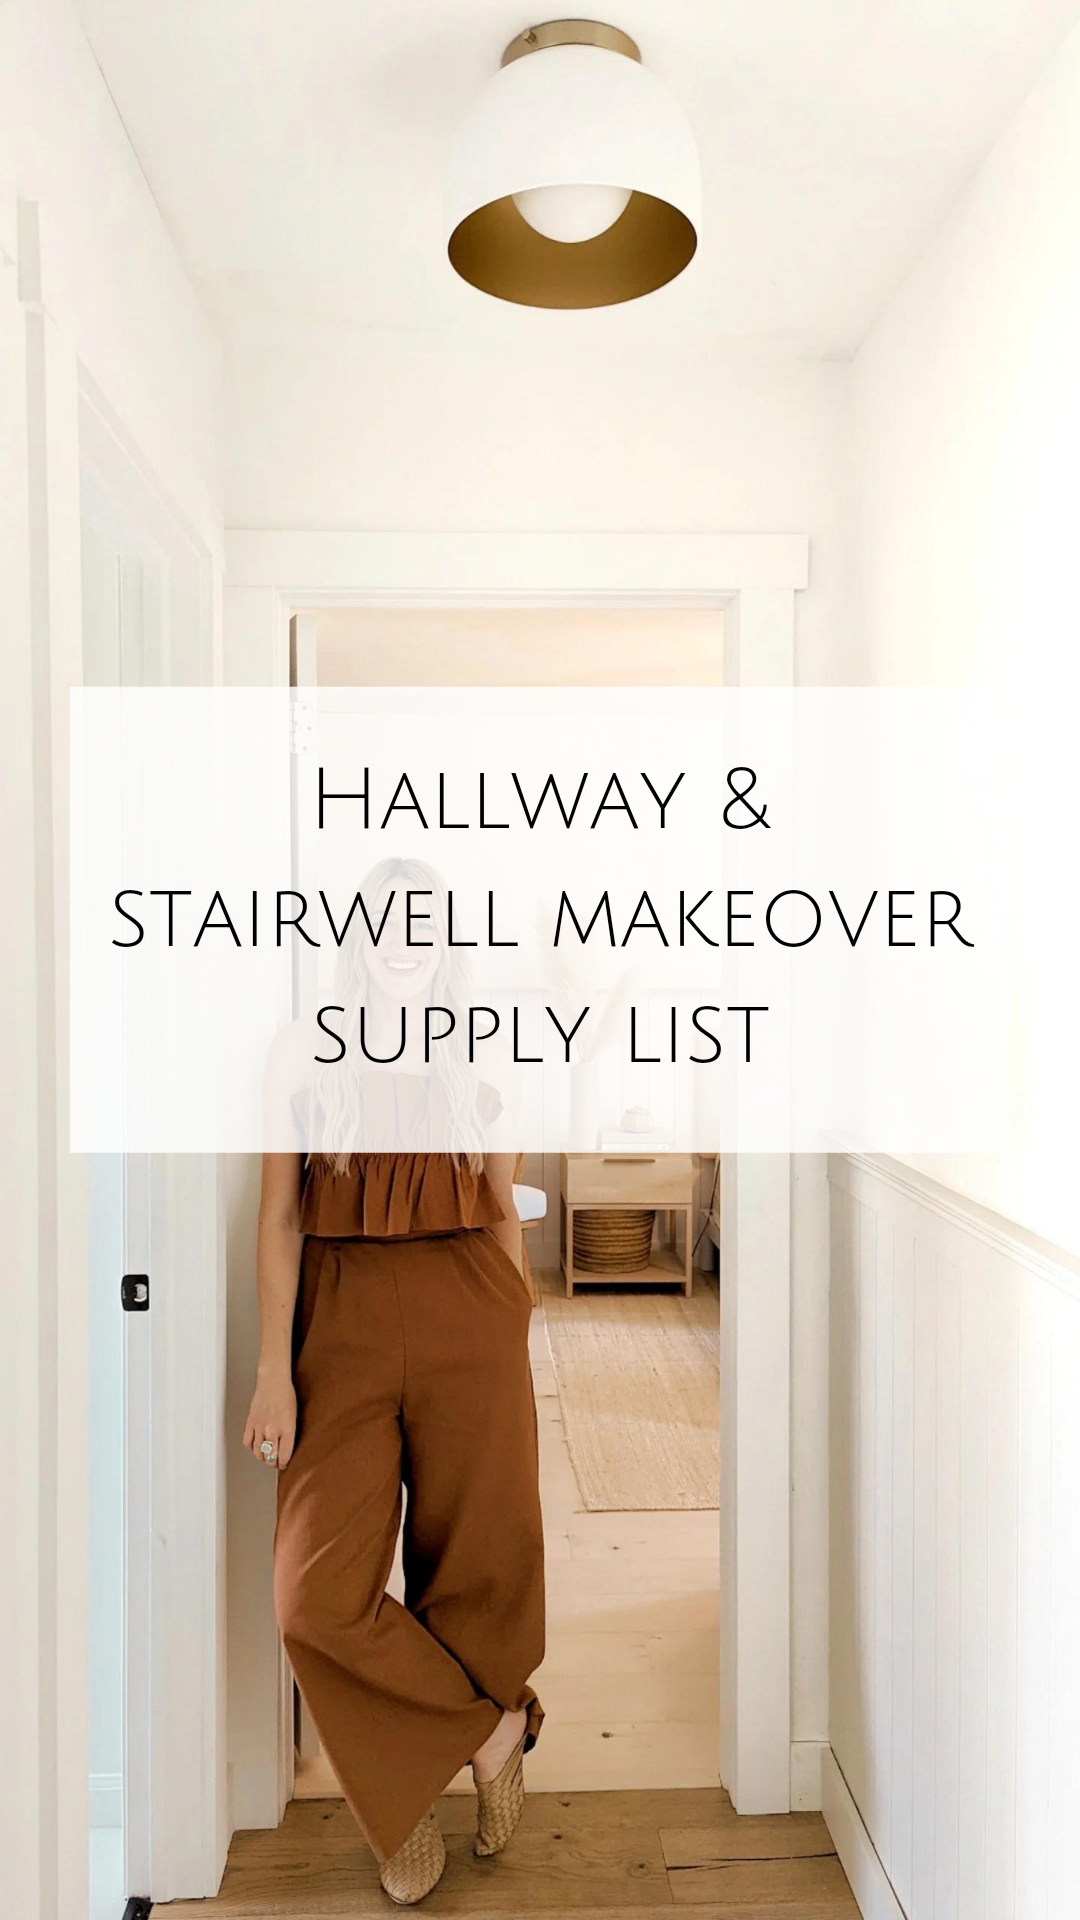
Here is a supply list of all the items I used in my stairwell and hall update if you would like to replicate it. Pine Bead Board: Top Trim: Decorative Moulding: Paint Colors: Bead Board: Sherwin Williams – Natural Cream in Eggshell Walls: Behr Scuff Defense – Polar Bear in Flat Railing Primer: Stix Primer […]
Did you need to seal the cabinets so that the paint doesn’t strip?
I did not seal them because we used such a great primer and paint.
Such an informative article! All the information provided by you is really very helpful. I agreed that we should use a tack cloth for removing small dust particles from the surface before painting. It gives you smooth paint finishing. Thank you for sharing! Keep posting!
Thanks so much! If you are ever interested in partnering on a project, let me know 🙂